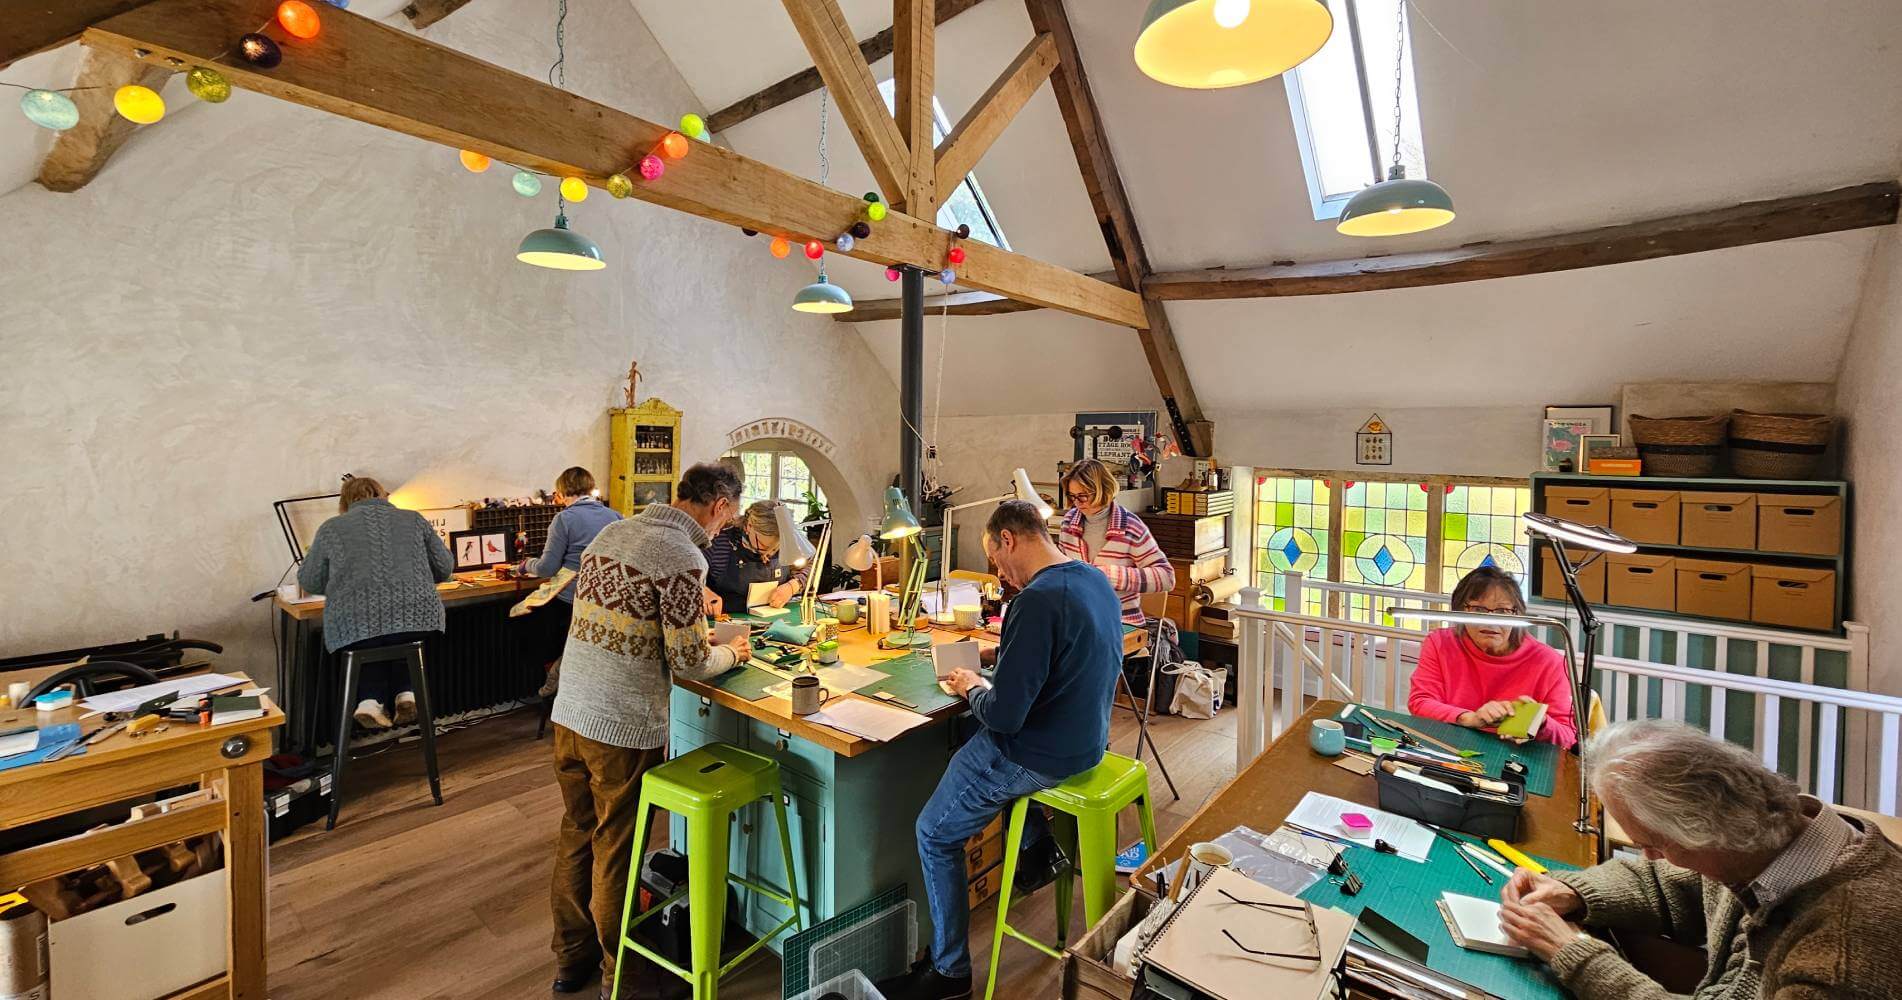
There is space for up to eight students for specific tutor-led group workshops in my fully equipped home studio. For some of the listed workshops where no big equipment is required, they are therefore portable and are also available as “Travelling Teaching and Talks”.
All the group workshops are priced on a course-by-course basis, with a materials charge based on the course taken. For some of the courses I also the option to buy some tools specific to the technique. Please contact me for further details on any of the below options.
“Leather Onlays, Inlays and Scarf-jointing for Fine Binding”
(one day duration)
Level: Beginner to Intermediate (previous experience of working with with leather preferable)


Workshop Description:
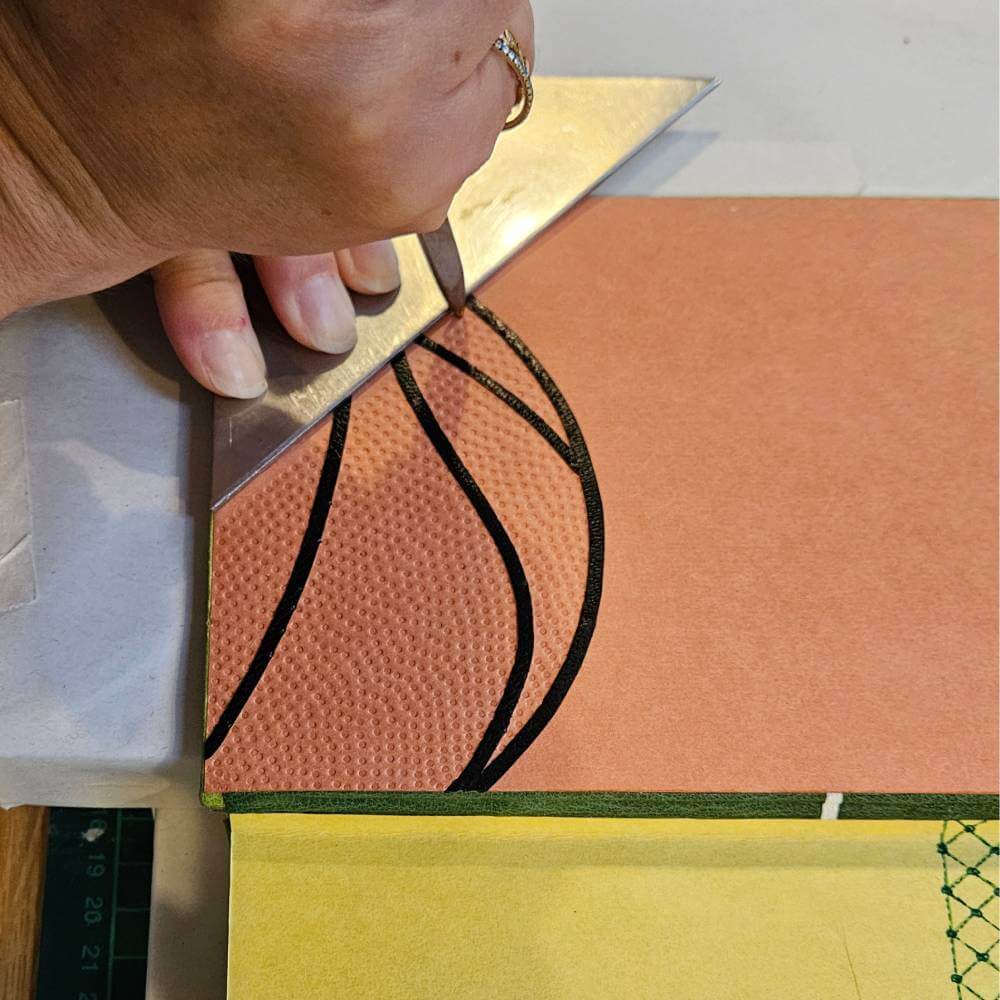
Various methods can be used to add decorative elements to what would otherwise be a plain leather binding. Other than gold or blind tooling, most of the alternatives involve combining the base leather with other materials or leather of a different colour, texture or finish. There are many ways in which this can be done, and the objective of this workshop is mastering the techniques of scarf-jointing, leather inlays and leather onlays.
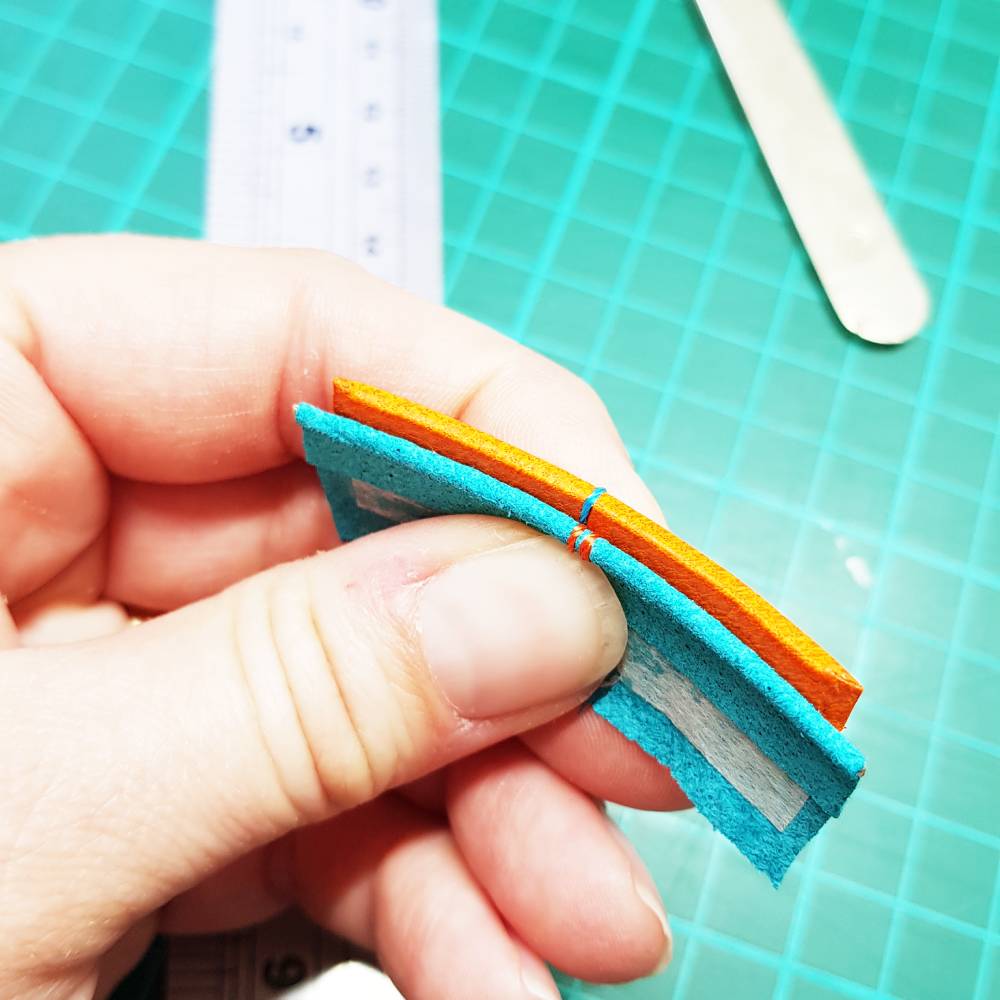
SCARF JOINTING: Where two pieces of leather are joined together off the book prior to covering. The joint is a long, low bevelled overlap, glued or pasted together so that the combined thickness at the overlap equals the thickness of the leather either side. Leather can also be jointed on the book using a shorter 45-degree angle.
INLAYS: Where the base leather is first applied to the binding and then parts are cut away and replaced by a different leather. Normally, but not always, the two pieces are set at the same level as each other.
ONLAYS: Where decorative elements are cut from thinly pared leather and then applied to the surface of the base leather. Onlays can be subdivided into different types, we will be learning about the “Onlaid and Back-Pared” method where the onlay is applied to the base leather prior to covering. The base leather is then pared on its inner surface so that the combined thickness remains constant and the onlay becomes flush to the surface of the base leather when it is then applied to the binding.
“Making Your Own Bookbinding Finishing Tools”
(one day duration)
Level: Beginner to Intermediate (previous experience with simple metalworking preferable)

Workshop Description:
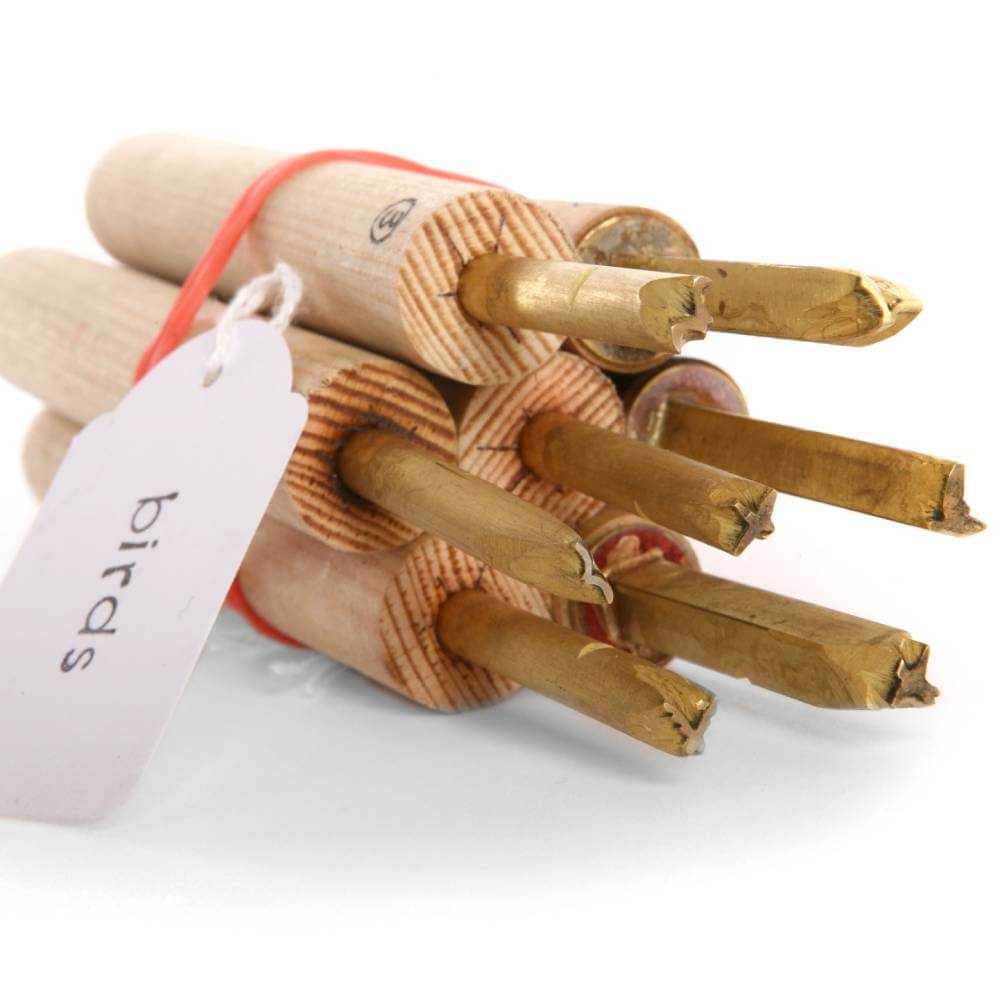
Making bookbinding finishing tools can be easy! With just some basic woodworking tools, including files, a vice and a drill, it is possible to shape brass rod into simple shapes that can then be mounted into wooden handles and used for tooling on your leather bindings. Learn how to create tools for use with blind tooling, carbon tooling…and even gold leaf!
“Concertina Stub Binding”
(one day duration)
Level: Beginner to Intermediate


Workshop Description:
Stub binding is a bookbinding technique that involves sewing book sections to narrow, folded pieces of paper, called stubs, instead of sewing the sections directly together. While not necessary for all books, stub binding can be a good solution for various problems.
Stub bindings are the perfect solution to binding books which are printed in the wrong grain direction, books with overly thick sections, miniature books, musical scores or books with illustrations that cross the gutter. The stubs allow each section to open freely and perfectly flat, also ensuring that no adhesive touches the actual book-block.
This structure involves folding long paper strips using aluminium folding gauges to create perfectly even concertina folds. Onto the concertina I’ll then show you how to sew on your sections and then the way to case the text block into a limp leather cover to create a notebook, which will open beautifully flat.
“Embroidered Leather Notebooks”
(one/two day duration)
Level: Beginner to Intermediate


Workshop Description:
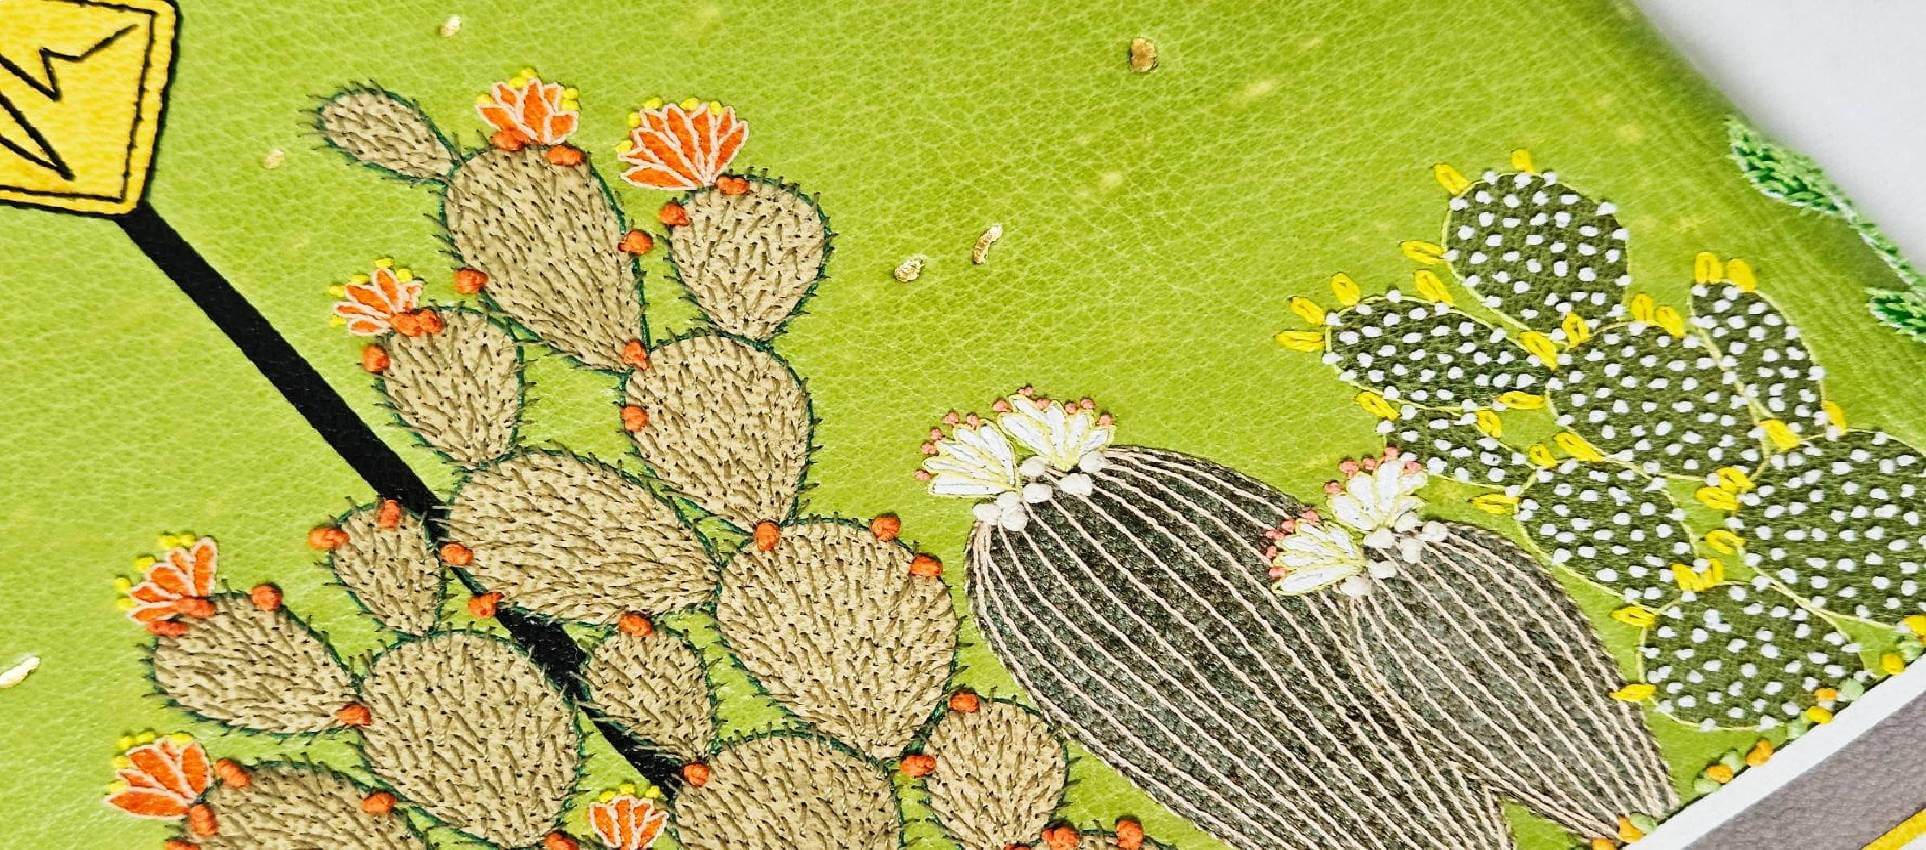
You can add very attractive surface decoration, texture and colour to bindings with simple techniques such as applying coloured leather onlays and sewn detail, both of which I demonstrate over this one/two day-long course. From embroidered outlines to fully appliquéd sections, different stitches can be utilised to great effect.
The day starts by learning a variety of simple stitches and how to apply them to leather, creating a leather embroidery sampler to take away with you for reference. In the afternoon there is an opportunity to test out these stitches on a simple design.
“Soft-Covered Paper Notebooks”
(half/one day duration, also suitable as a 2 hour evening session)
Level: Beginner


Workshop Description:
Are you totally new to bookbinding and want to learn how to make your own multi-section book? Then this is the course for you! You will be taught how to design and make your very own soft covered book with a decorative cover, which can be used as a notebook or sketchbook.
This course will teach you the basics of folding paper for book sections, and card for book covers, in order to combine them to create a functioning book. All the materials and tools to create these notebooks are easy to source and therefore easy to replicate at home. You will decorate your paper book covers using a variety of methods including ink stamps and pads, pens and paper cut outs – this will be your chance to be creative! You will learn how to bind a simple multi-section notebook with exposed spine threads and there will be a choice of beautiful patterned papers to use within your binding.
There will also be the opportunity for you to create a label for your book using a professional bookbinders type-holder, plus the choice to add ribbon ties and a bookmark to your finished piece! The skills you learn in this class can be utilised at home to make many more beautiful and unique books for yourself or gifts.
“Sewn and Made Endbands for Bookbinding”
(two day duration)
Level: Intermediate


Workshop Description:
In Medieval times, when the first books as we now recognise them were being constructed, endbands were part of the sewing, extending across the spine of the text-block and incorporated into the boards, providing structural support to the binding.
Most often found with hard cover bindings, endbands consist of a small cord or strip of material affixed near the spine to provide either structural reinforcement, decorative effect, or both. Endbands refer to both the head and tail of the book, being further referred to at the headband and tailband.
The original function of endbands was structural, they fulfilled the same function as the primary sewing supports and were similarly laced into the book board. Modern endbands on fine bindings however do not fulfil the same structural function as they used to historically and are mainly added for their decorative qualities. They are still a necessary part of a fine binding though as they occupy the space between the head and tail of the text block where they would otherwise be a gap, and they create some substance for the endcaps to be formed around.
The headband and headcap area, being at the top of the binding, is also the part of the book where readers inevitable place their fingers to pull a book off a shelf. This therefore is a reason why they should be made to be as structurally sound as possible.
Endbands must be securely attached to the the text-block using regular thread tie-downs through the centre of every section, which I will explain shortly. The main degradation historically of endbands has been they weren’t tied down enough, probably because books were being made at speed so they were cheaper to be produced, so the endbands often come away at the spines.
There are many different types of endbands and it would be impossible to cover every one so we concentrating on four types over this two day class: single core and double core sewn endbands, plus “stuck on” single core and doublure core made endbands.
“Box-making: Clamshells and Slipcases”
(one/two day duration)
Level: Intermediate


Workshop Description:
Making bookbinding boxes involves constructing sturdy protective cases, often slipcases or clamshell boxes, using boards (like greyboard or millboard), covering materials (cloth/paper/leather), and adhesive (PVA glue) by precisely measuring the book, cutting panels, laminating them for strength, assembling the walls with right angles, and covering the exterior for a professional finish, creating a tailored, archival-quality home for a precious book. Key steps include calculating tolerances for a snug fit, using a bone folder for crisp creases, and allowing ample drying time for strong bonds.
This course will teach you how to make one slipcase, and one clamshell box.
“How to ‘paint’ with embroidery threads”
(one/two day duration)
Level: Intermediate


Workshop Desciption:
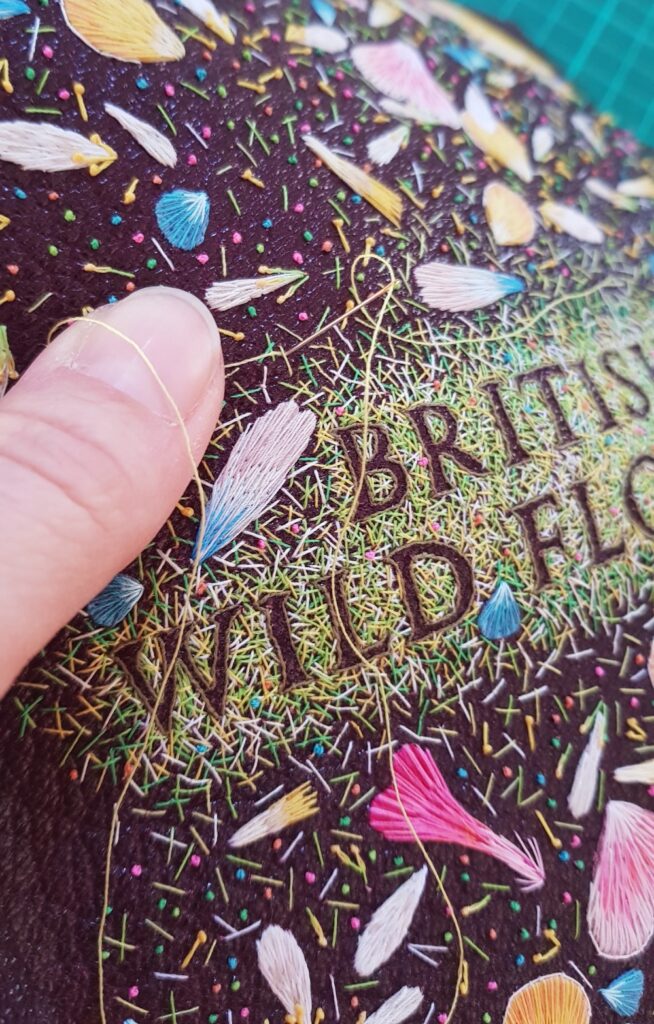
It is possible to use embroidery threads to “paint” onto leather by building up colour gradually with overlapping stitches of different lengths. This is an intricate way of adding a breadth of colour to your embroidery work, applying threads that follow the shapes and curves of design elements.
You will use thin leather onlays as a base colour, and will then learn how to build up stitches on top to create painterly effects, making your thread follow the natural form of your subject. Start with an outline, then fill areas by varying stitch length and direction, overlapping into adjacent colours to create an intricate design blending darkest to lightest colours for seamless transitions and depth.
“How to Title Books with Alternative Techniques”
(one/two day duration)
Level: Intermediate

Workshop Description:
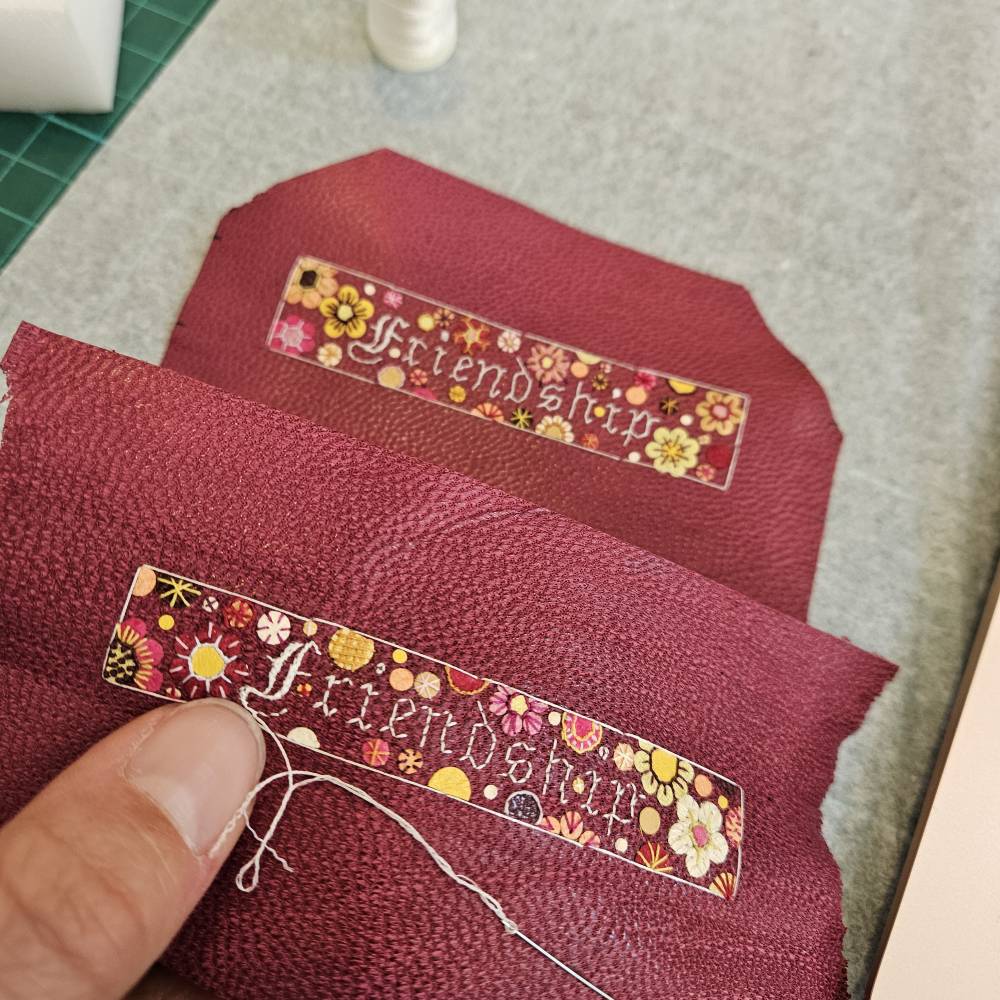
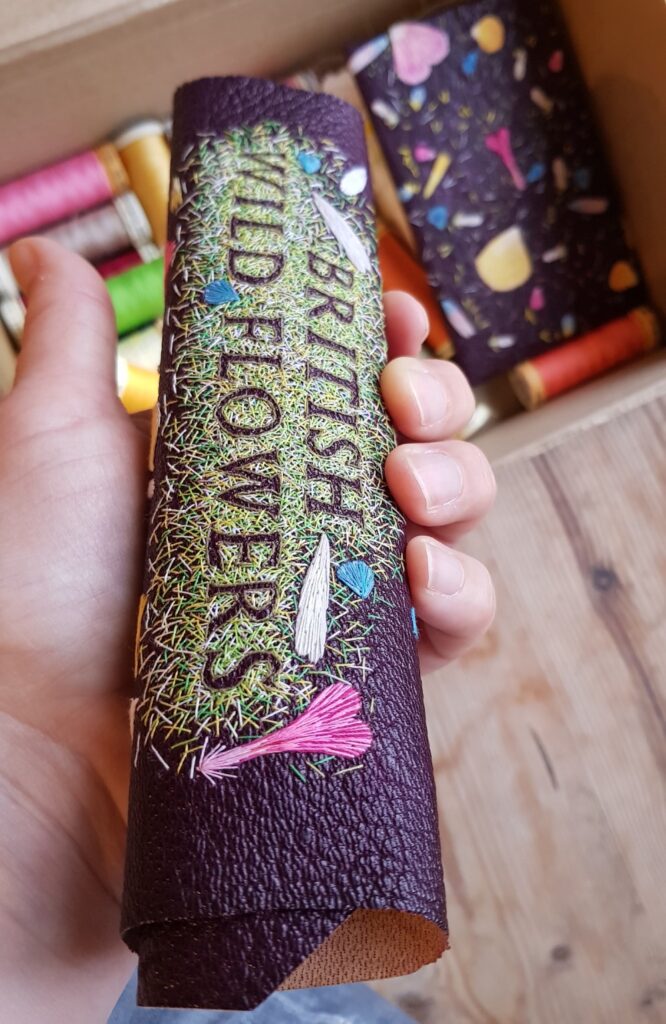
This workshop guides you through alternative ways to title your books and boxes. Where you may not have the typeface you want to tool a title, it is possible to use different methods to illustrate words. The two methods taught in this course are as follows:
EMBROIDERED LETTERING: It is possible to create titles by the use of embroidery techniques. I teach both: “negative space embroidery”, which is an embroidery technique in which you stitch around a shape rather than the shape itself; and “conventional embroidery” where the lines of stitching create the shapes of the letters.
PIERCED LETTERING: It is possible to create titles by carefully piercing out the required letters from thinly pared leather and sticking them down as onlays on base leather. When cut out with care, it can be possible to use both the “positive” and “negative” pieces of leather two create two title panels, thus saving time!