

Part two of this blog post covers the covering, tooling and the box, and follows on from part one at the point where the fowarded text block of La Vita Nuova is ready to be covered with the leather. I am always pleased when I get to the stage where the embroidery is finished, but take a bit of time to reflect on it before immediately jumping into sticking it onto the book. It is especially crucial with a binding like this, where the design is a repeat pattern as it is easy to miss stitches and not realise and once the leather is on the book, it is not possible to add any more embroidery.
When it is time to stick the leather to the book, I make sure that I have all the tools I need to hand during the covering process. These include: PVA glue; brushes; a piece of glass; fine metal tools for turning the leather down the spine; linen thread; a Teflon folder; scissors; a water atomiser and a number of waste sheets. I also make sure I take all my rings off so that I don’t mark the leather whilst covering it.


I first sprayed the front side of the leather with a water atomiser to dampen it, this helps the paste to pull through the leather evenly preventing any unsightly marks when the leather dries. I then turned it over and applied three layers of paste (made up by cooking a mix of strong white bread flour and water on a bain marie) to the reverse using a large paste brush, making sure I gave it time to penetrate in between each application. I then applied PVA glue to the joint area of the book before joining the leather to the text block. You will see in the below right image that I have reference lines drawn on the back of the skin so I know here the boards need to be placed.


Because the embroidery slightly stretches and misshapes the leather as I apply it, I had to spend time making sure it was pulled correctly to the edges of all the boards during the covering phase. I wanted to ensure that the pattern lined up in the same place on the covers to keep an even appearance all around.
Once the leather was on and turned down the spine and around the edges of the boards, I temporarily tied a length of the linen thread around the spine (see below image). I was then able to work the endbands into shape, flattening them by placing the endcap area down on the piece of glass and using my Teflon folder to create the correct profile. I made sure I cut the thread off whilst the book was drying, so as not to mark the leather.
The book was left to properly dry between blotting paper and boards for 24 hours, regularly changing the blotting paper to draw the moisture out.
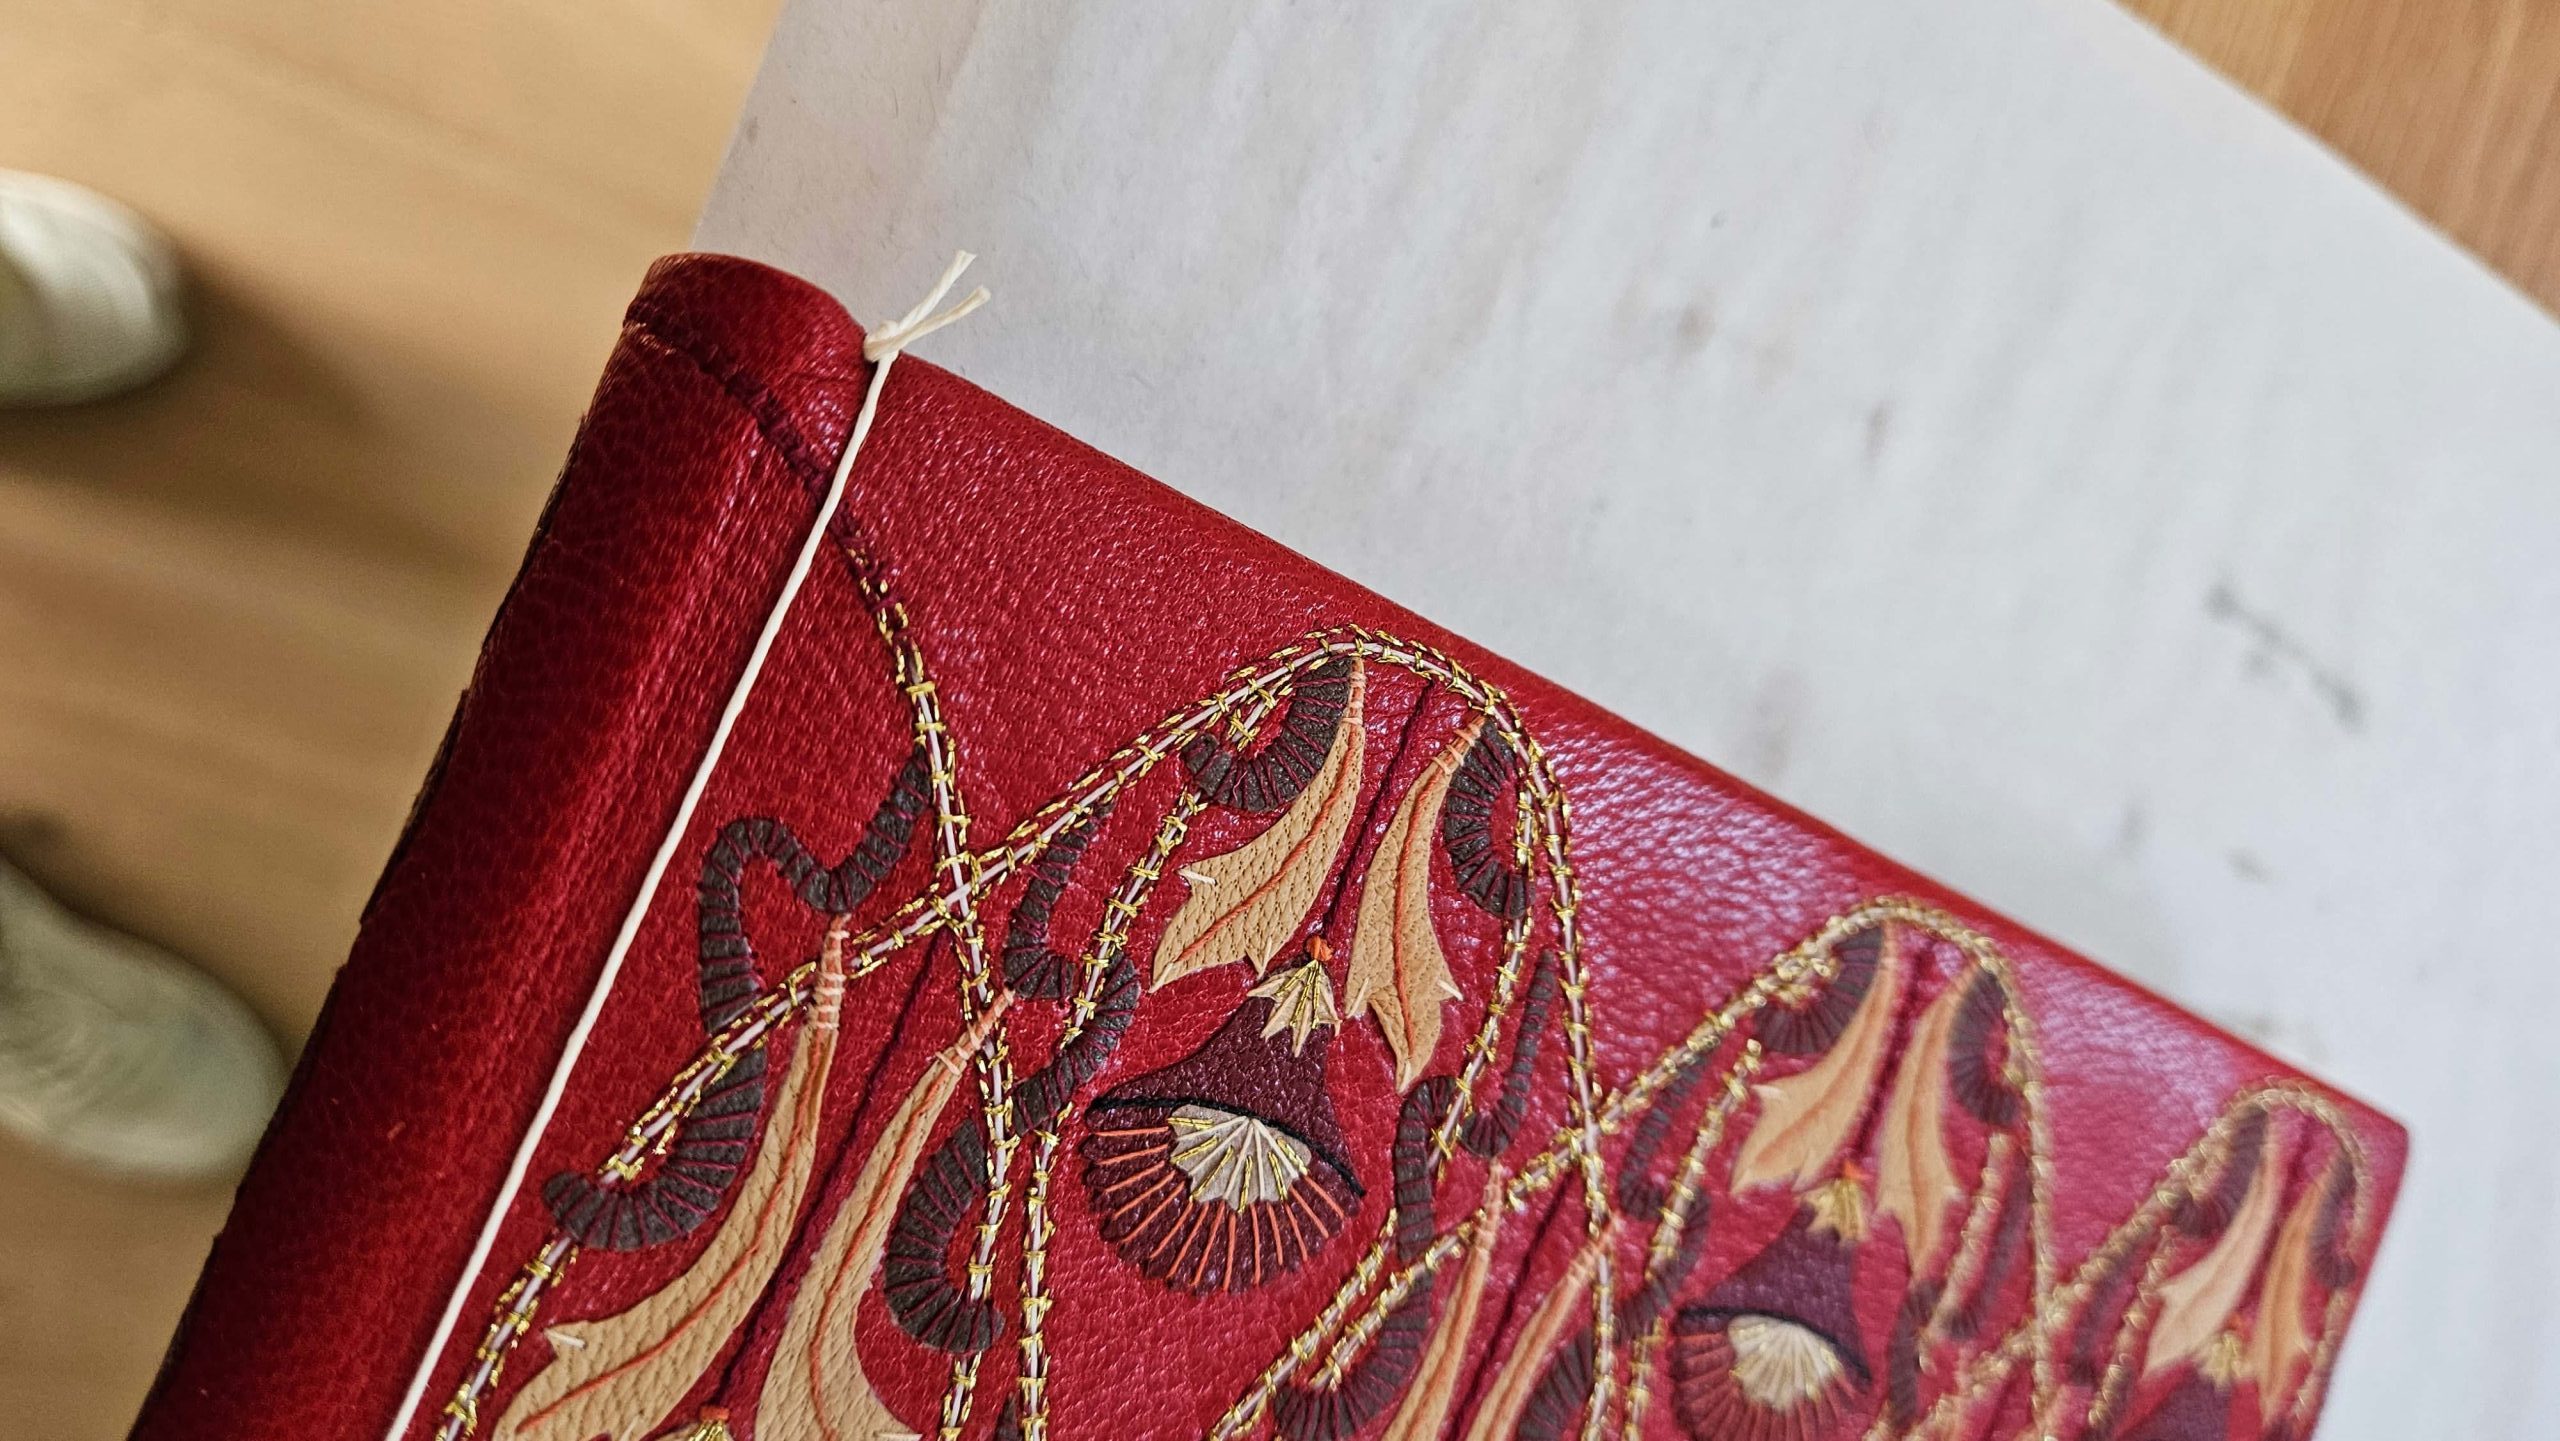
Twenty four hours later I returned ready to open the book boards for the first time. Before forcing them open I dampened the leather joint using a water pen, letting the moisture penetrate into the skin before easing them open gently. This is the first time I could fully appreciate what the embroidered leather looks like on the binding and I was very pleased with the appearance.
The capping and waste sheets were removed from the text bock, and the leather joints were released and cleaned up.


I mitred the ends of the leather joints and stuck them down using PVA glue. It was necessary to stick a strip of Zerkall down underneath to bring them up to the same level as the turn-ins around the edges of the boards.
I then infilled in the centre of the boards with a layer of watercolour paper, and on top of that two layers of Zerkall which were each sanded flush. It’s a bit messy but it is important to spend time over the stage so that the doublure lays flat on top. Even with the preparation I did at this stage, the turn-ins were slightly visible underneath the edge-to-edge leather doublure so I will add an extra handmade paper layer next time.


The plan for the doublures was to hint at a figure to represent Dante’s beloved Beatrice, in her red dress. I was quite drawn to the work of Aubrey Beardsley, whose work dates from the same period as Art Nouveau however wanted to avoid depicting anything traditionally figural.

The plan was to create an ethereal-type female, playing into the notion of the fleetingness and unattainability of Dante’s pursuit perfection and ideal love, paralleling the aesthetic quest guiding the Arts & Crafts movement as a whole. I decided that a hand alone would be enough to hint at the figure, with wisps of dress fabric flowing behind her as a partial view of a fleeting ornate garment, like the a whisper of a person. This would also give a great opportunity to use the hand tools that I had had made, to add ornament to this area of the binding.

I had some of the red leather split to 0.3mm in thickness, and I backed this onto lens tissue to stabilise it. The leather was then cut to the correct size and edge pared all around (see below left image). The hand was cut from thin vellum and stuck down in place, and I used a tracing paper template to prick the flowing fabric lines onto the leather.
I had initially thought that I would add embroidered detail in a variety of red threads, however after doing a trial it seemed too busy. I therefore chose to use solely metallic gold thread which I was happier with.


At the very edge of the doublure, where the thread needed to continue around on itself, I cut small notches into the skin so that the thread had somewhere to locate into (see below left image).
Before I stuck the doublure leather down onto the board, I applied some red acrylic paint to the edges of the boards to hide any scuffed leather that had resulted from the sanding process (see below right image). The doublure was then ready to adhere down and left to dry for twenty four hours.


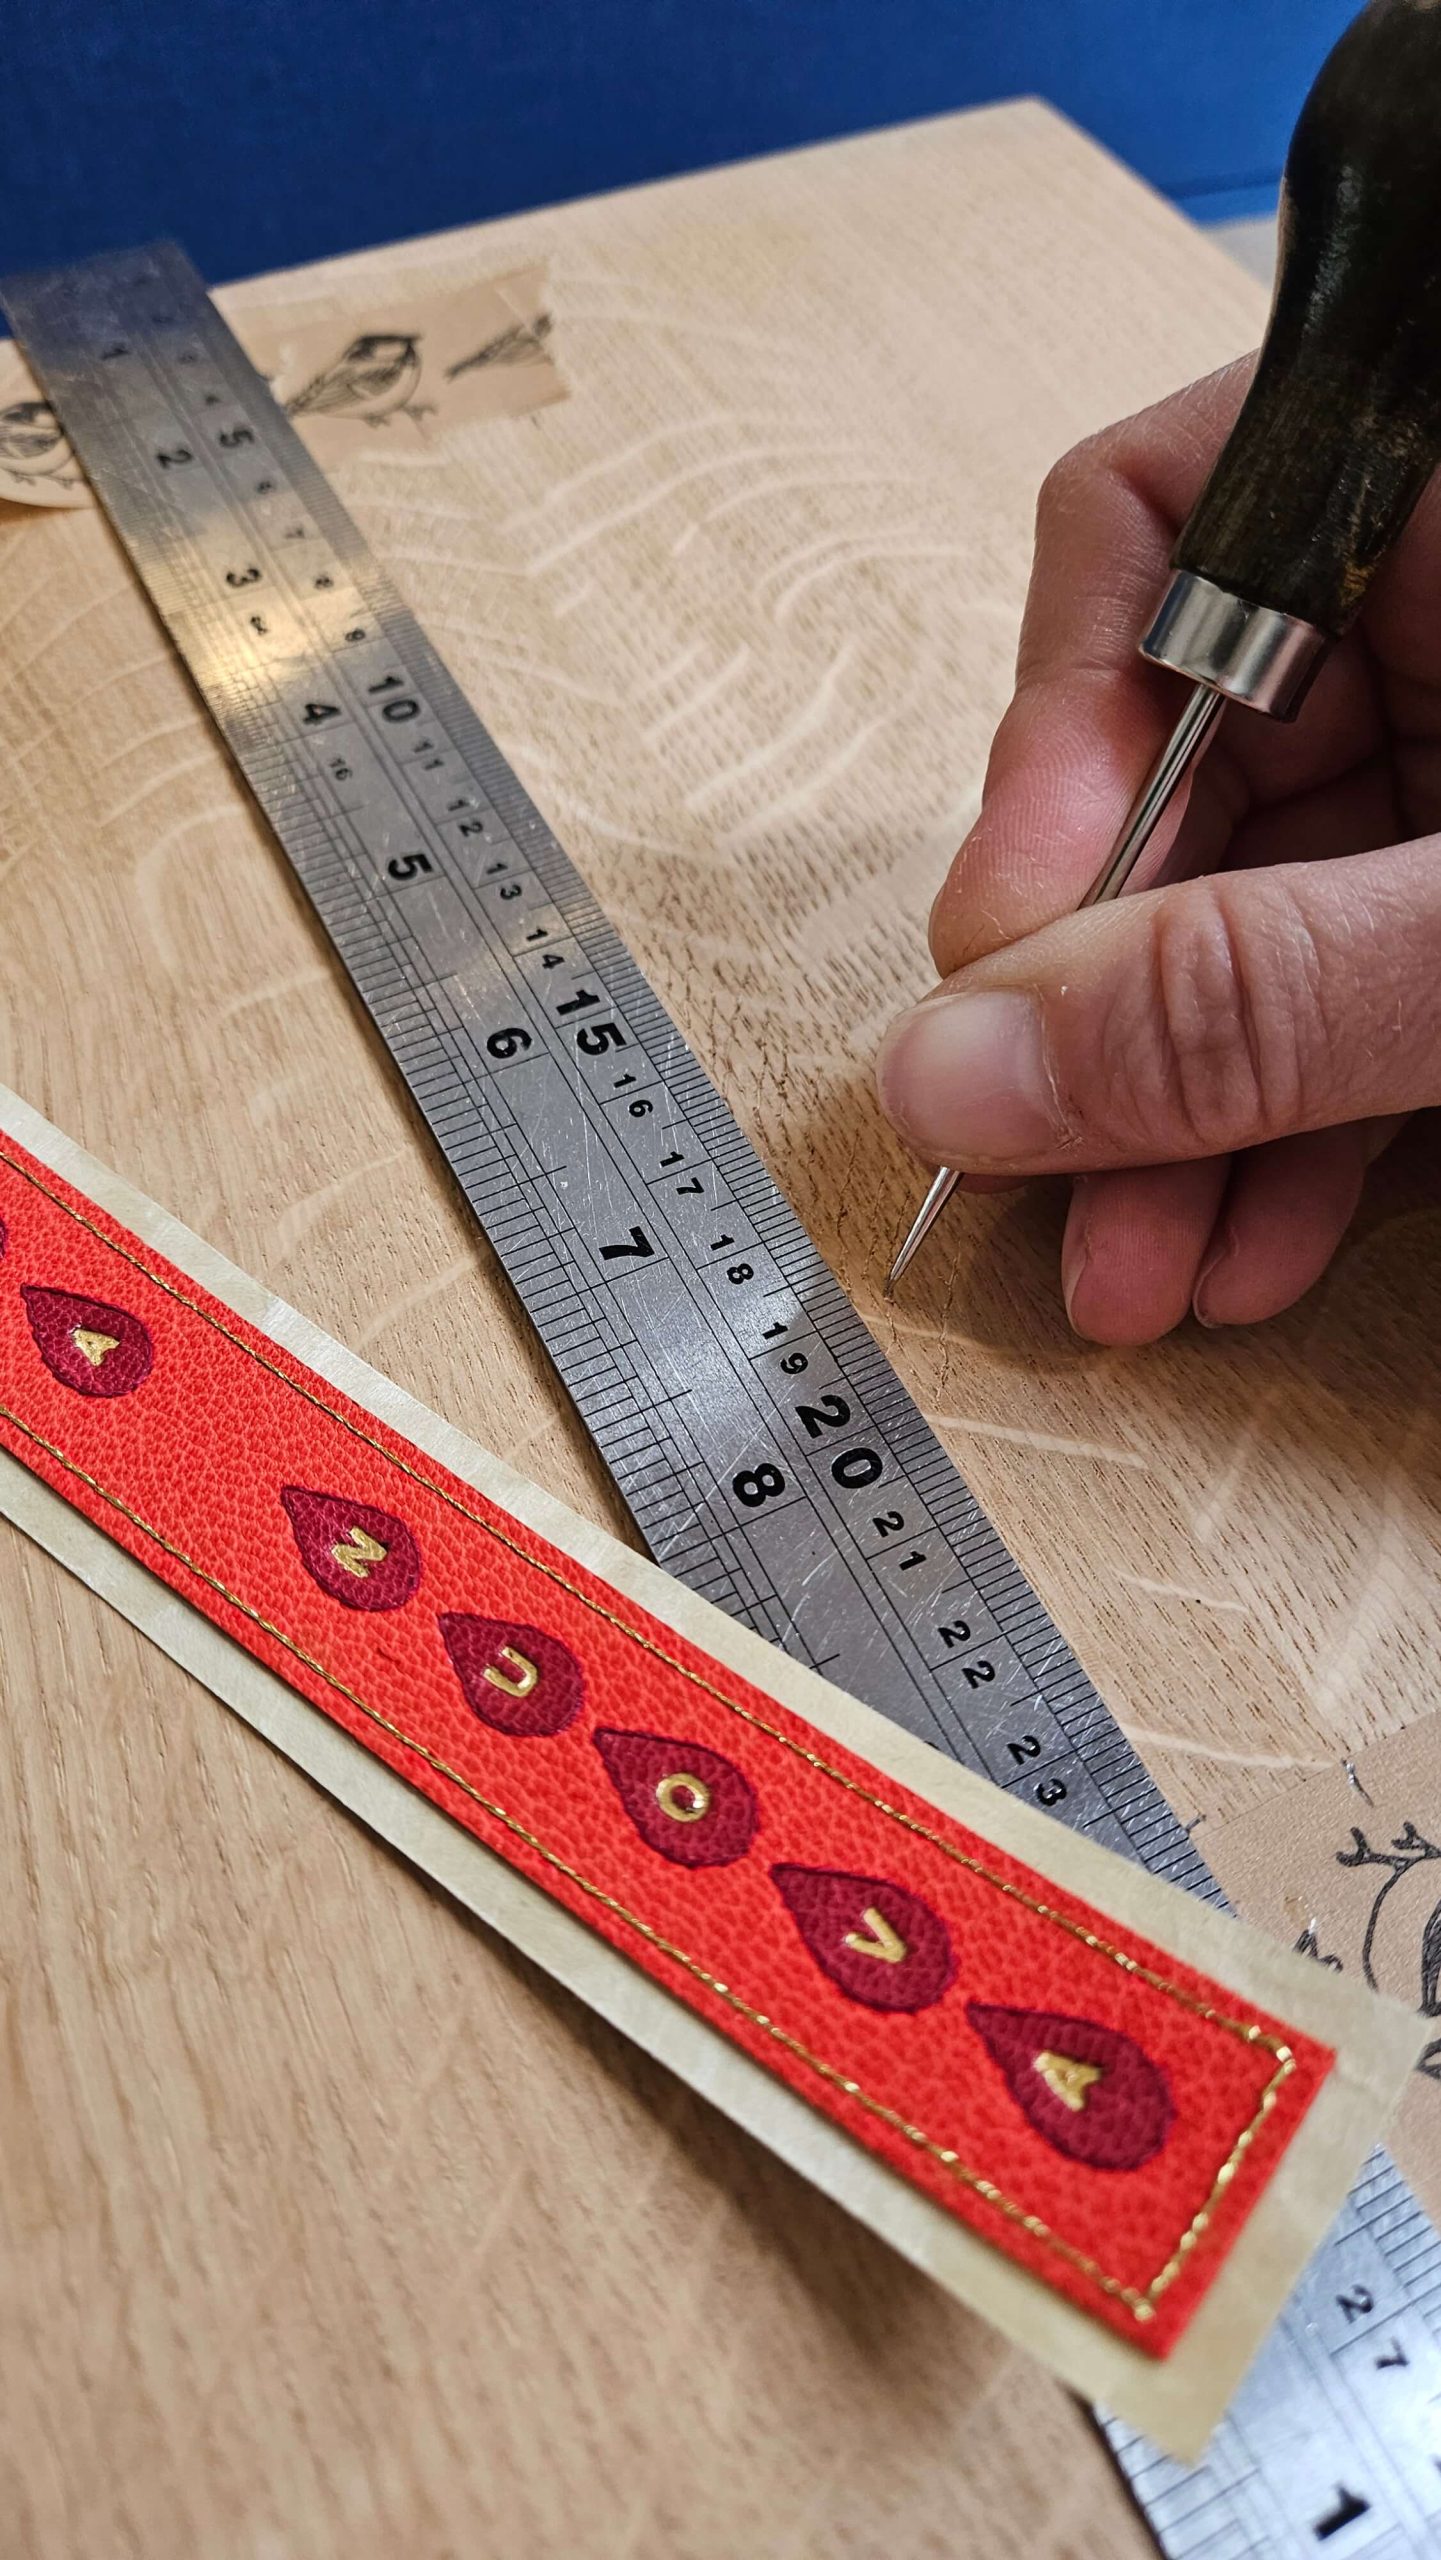
The nine onlay droplets were replicated twice for additional titles: one for on the wooden box and another for a card chemise I planned to house the wooden box in. Each title was blind tooled and then BS Glaire painted into the impression with a very fine brush. I then picked up gold leaf onto the heated tools and applied gold into each impression before wiping off the excess leaf with a soft cloth.


The tooling of the two motifs was done with gold foil on the doublures. I experimented with tooling these using gold leaf but it was too difficult to accurately sight these back into the blind impression.

I had an oak box made to specification for the binding, with a thick wall creating a “well” for the book to sit in.

This was lined with suede in the lid, and paper on the walls (to match the stubs, with additional carbon-tooled motifs added for detail). Philip Salmon and his colleagues wished to retain the original paper wrapper that I removed from the book as part of the new binding. I therefore created a hinged panel in the base of the box that, as well as helping to lift the book out of the box, would lift to reveal the original cover underneath.


The final stage of the project was adhering the label to the lid of the box. As the box had been oiled, I scored the surface of the wood under where the label would be glued to ensure extra adhesion.
The binding was then ready to be photographed and documented! For me, the project isn’t complete until I have edited all the photographs, the binding is up on my website and I have written a blog post about how it was made, which now you are reading the end of this series of two blogs posts means I have made it to the end of this glorious red commission.
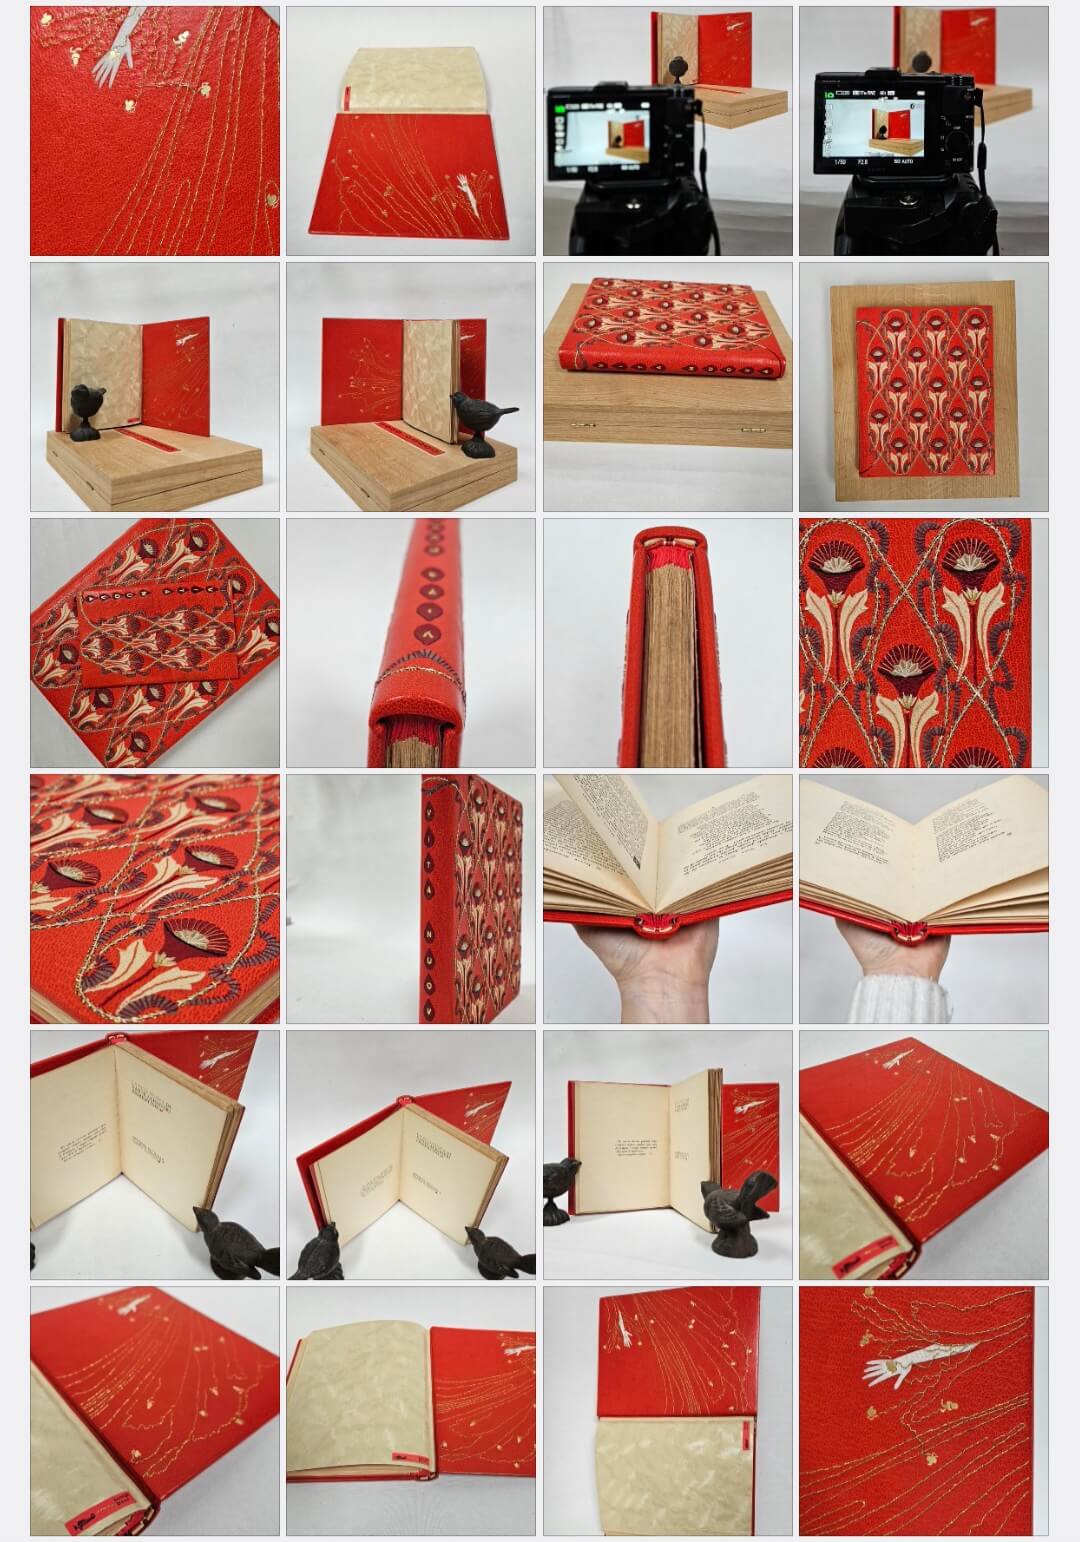
You can see images of the finished binding La Vita Nuova binding here, and below is a video of the book.