Part two of this blog about The Ernest Gimson binding concentrates on how the book was forwarded. You can read how I got up to this point in part one of this blog post here that covers details about the original book, the concept of the design and work on the sample board.
Once the endpapers were sewn to the text block, the spine of the book was glued up and then rounded and backed (I don’t have images of this process but do cover these stages with images in other blog posts). As I had deckled the foredge and bottom edge of all the pages, I only wanted to trim the top edge of the book.
I placed the text block in between scrap boards and ploughed the top edge of the text block, pushing the plough in even motions backwards and forwards whilst advancing the cutting blade. The top edge was then sanded flush to remove any imperfections.


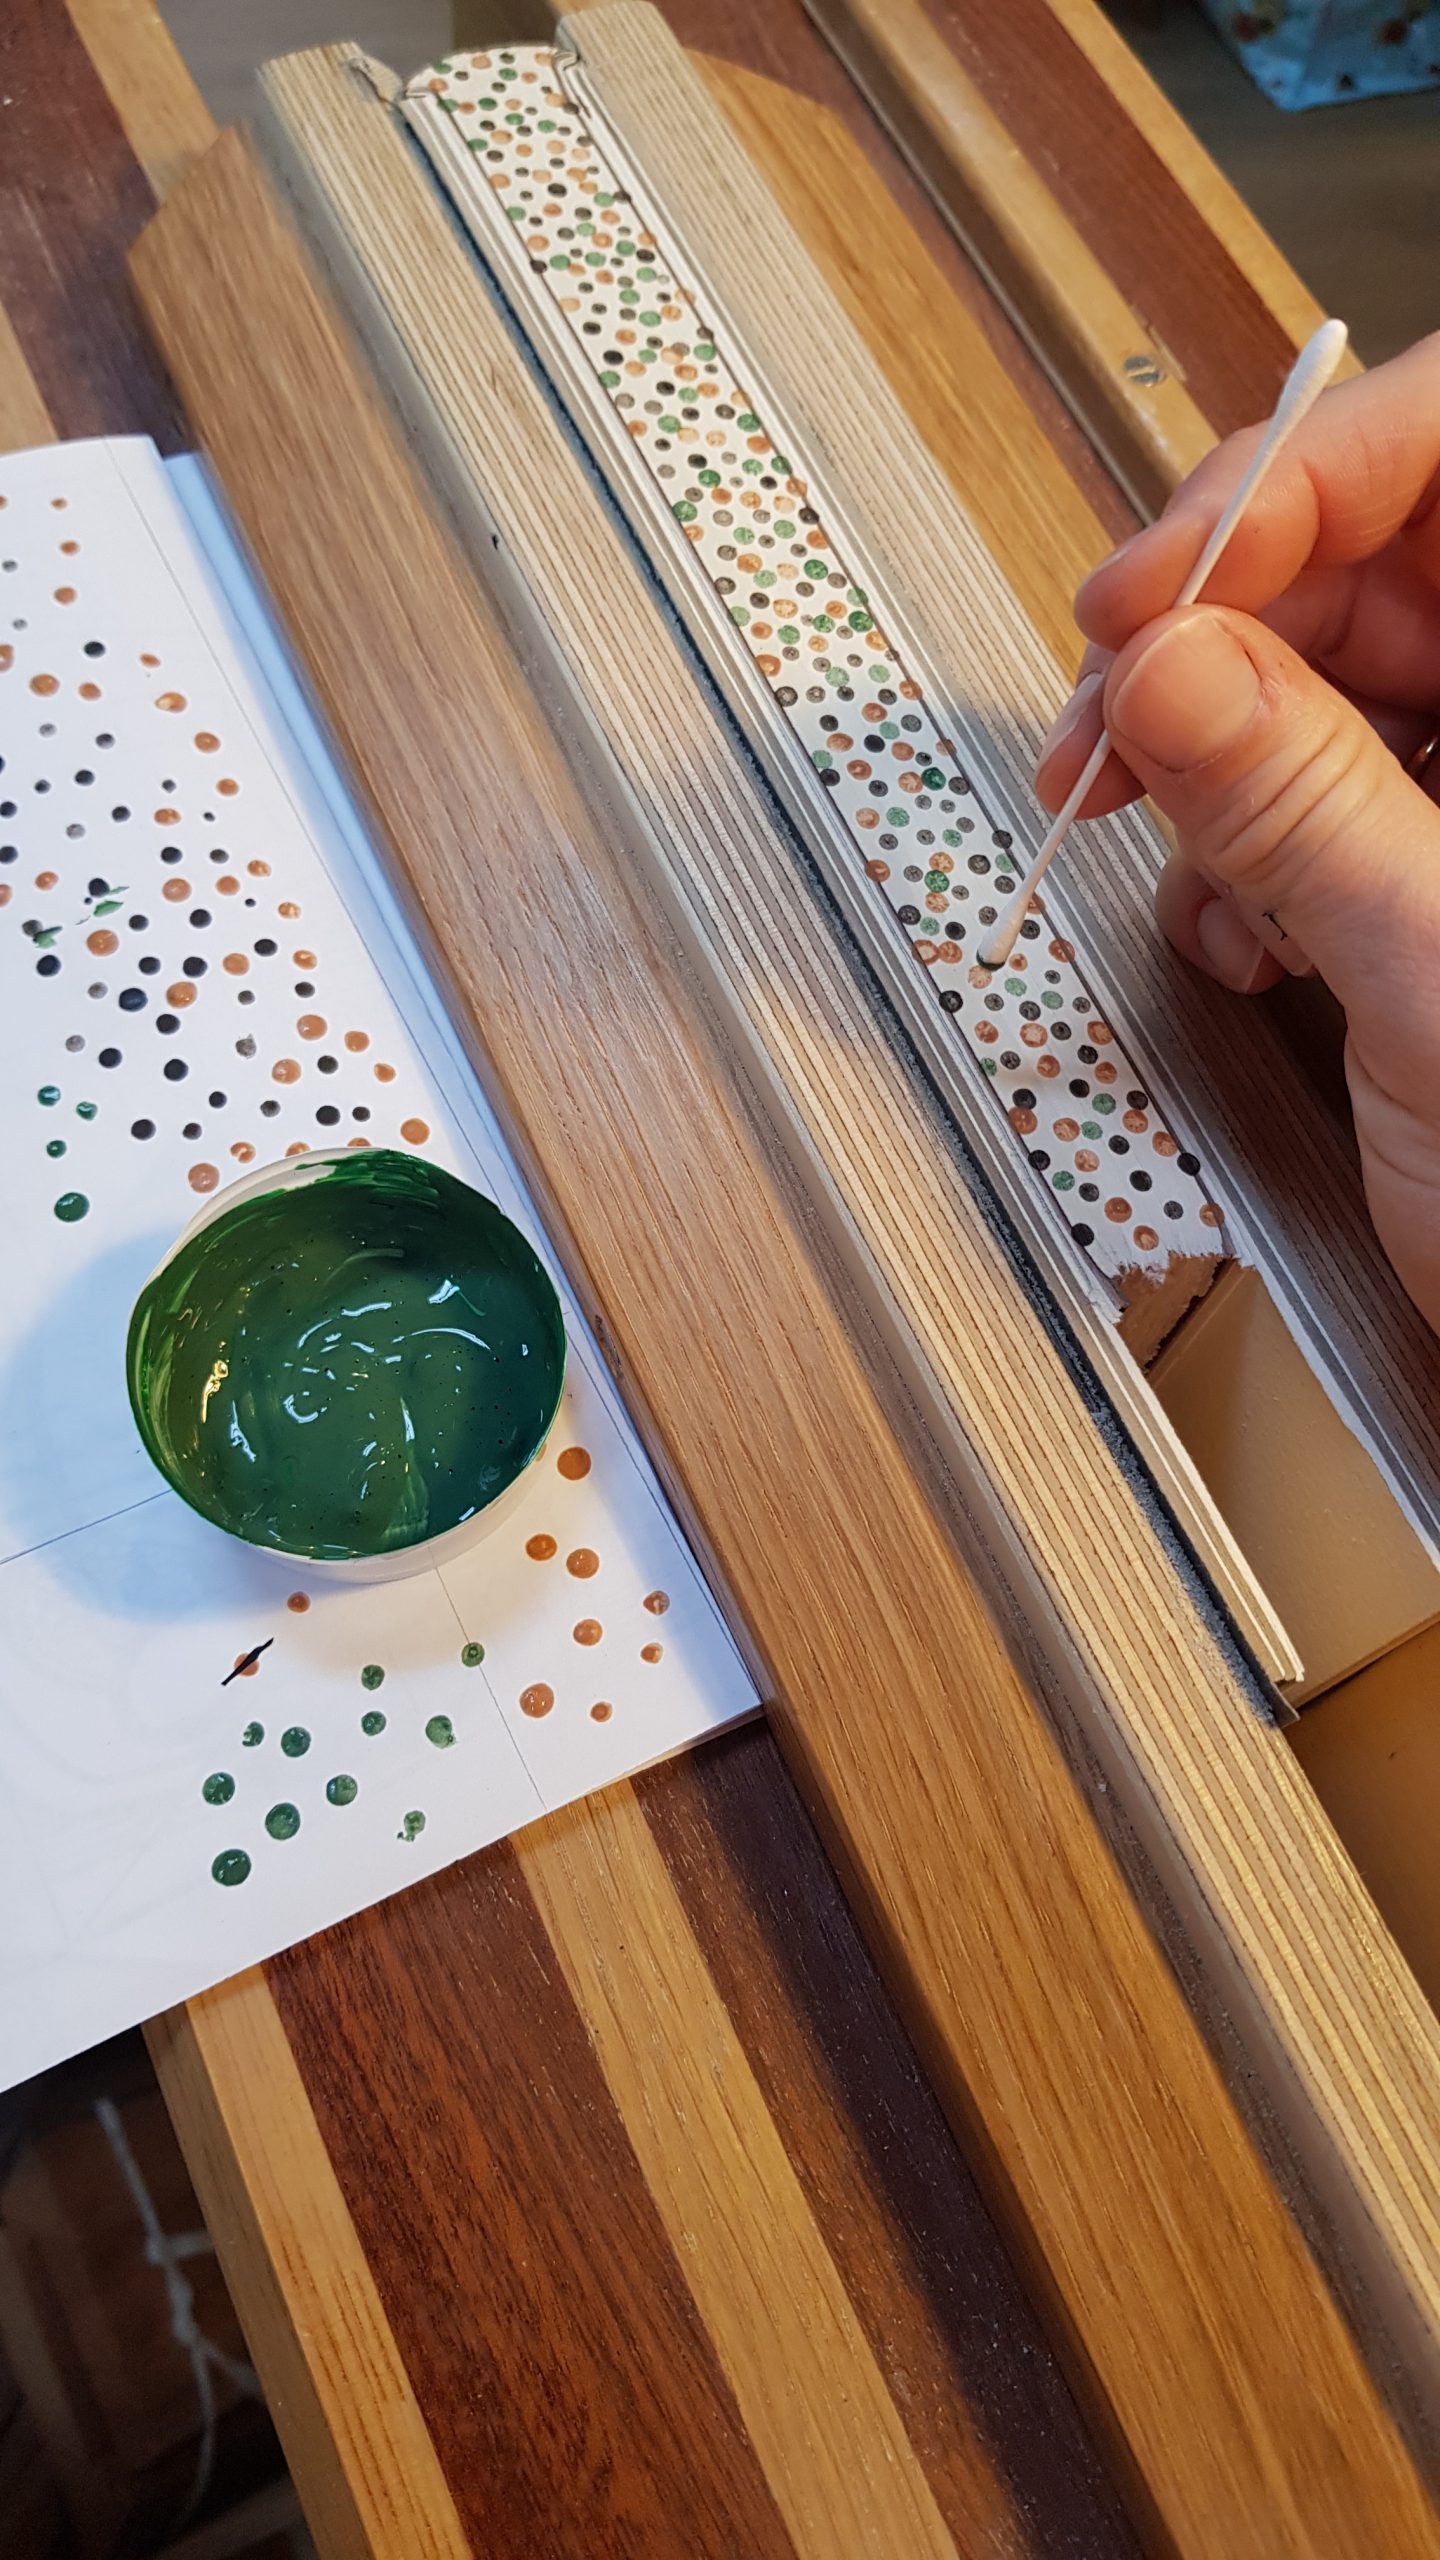
I wanted to decorate the top edge of the book with a pattern that would compliment the cover design. On the sample board I textured the leather using lots and lots of little French knots in a variety of colours, which inspired the edge decoration here. Using a cotton bud I applied dots of acrylic paint in a variety of colours to build up a pattern on this surface of the book. Once dry, I applied a light layer if wax to the surface and buffed it with a soft cloth.
Next I worked on some sewn endbands. Due to the size of the book I opted to do a double-tier sewn endband, with the entire endband sewn using brown silk thread. Once this had been applied I added in extra colours of thread to highlight the colours used to decorate the top edge of the binding.


Due to the deckled edge at the bottom of the book, the profile of the pages was uneven in comparison to the cut edge at the top of the book. I therefore chose to stick on a piece of leather to the spine of the book to create a long core of the endband, and sewed silks around this so that they dropped further down into the shorter pages on the binding to add more detail in this area of the inner spine.
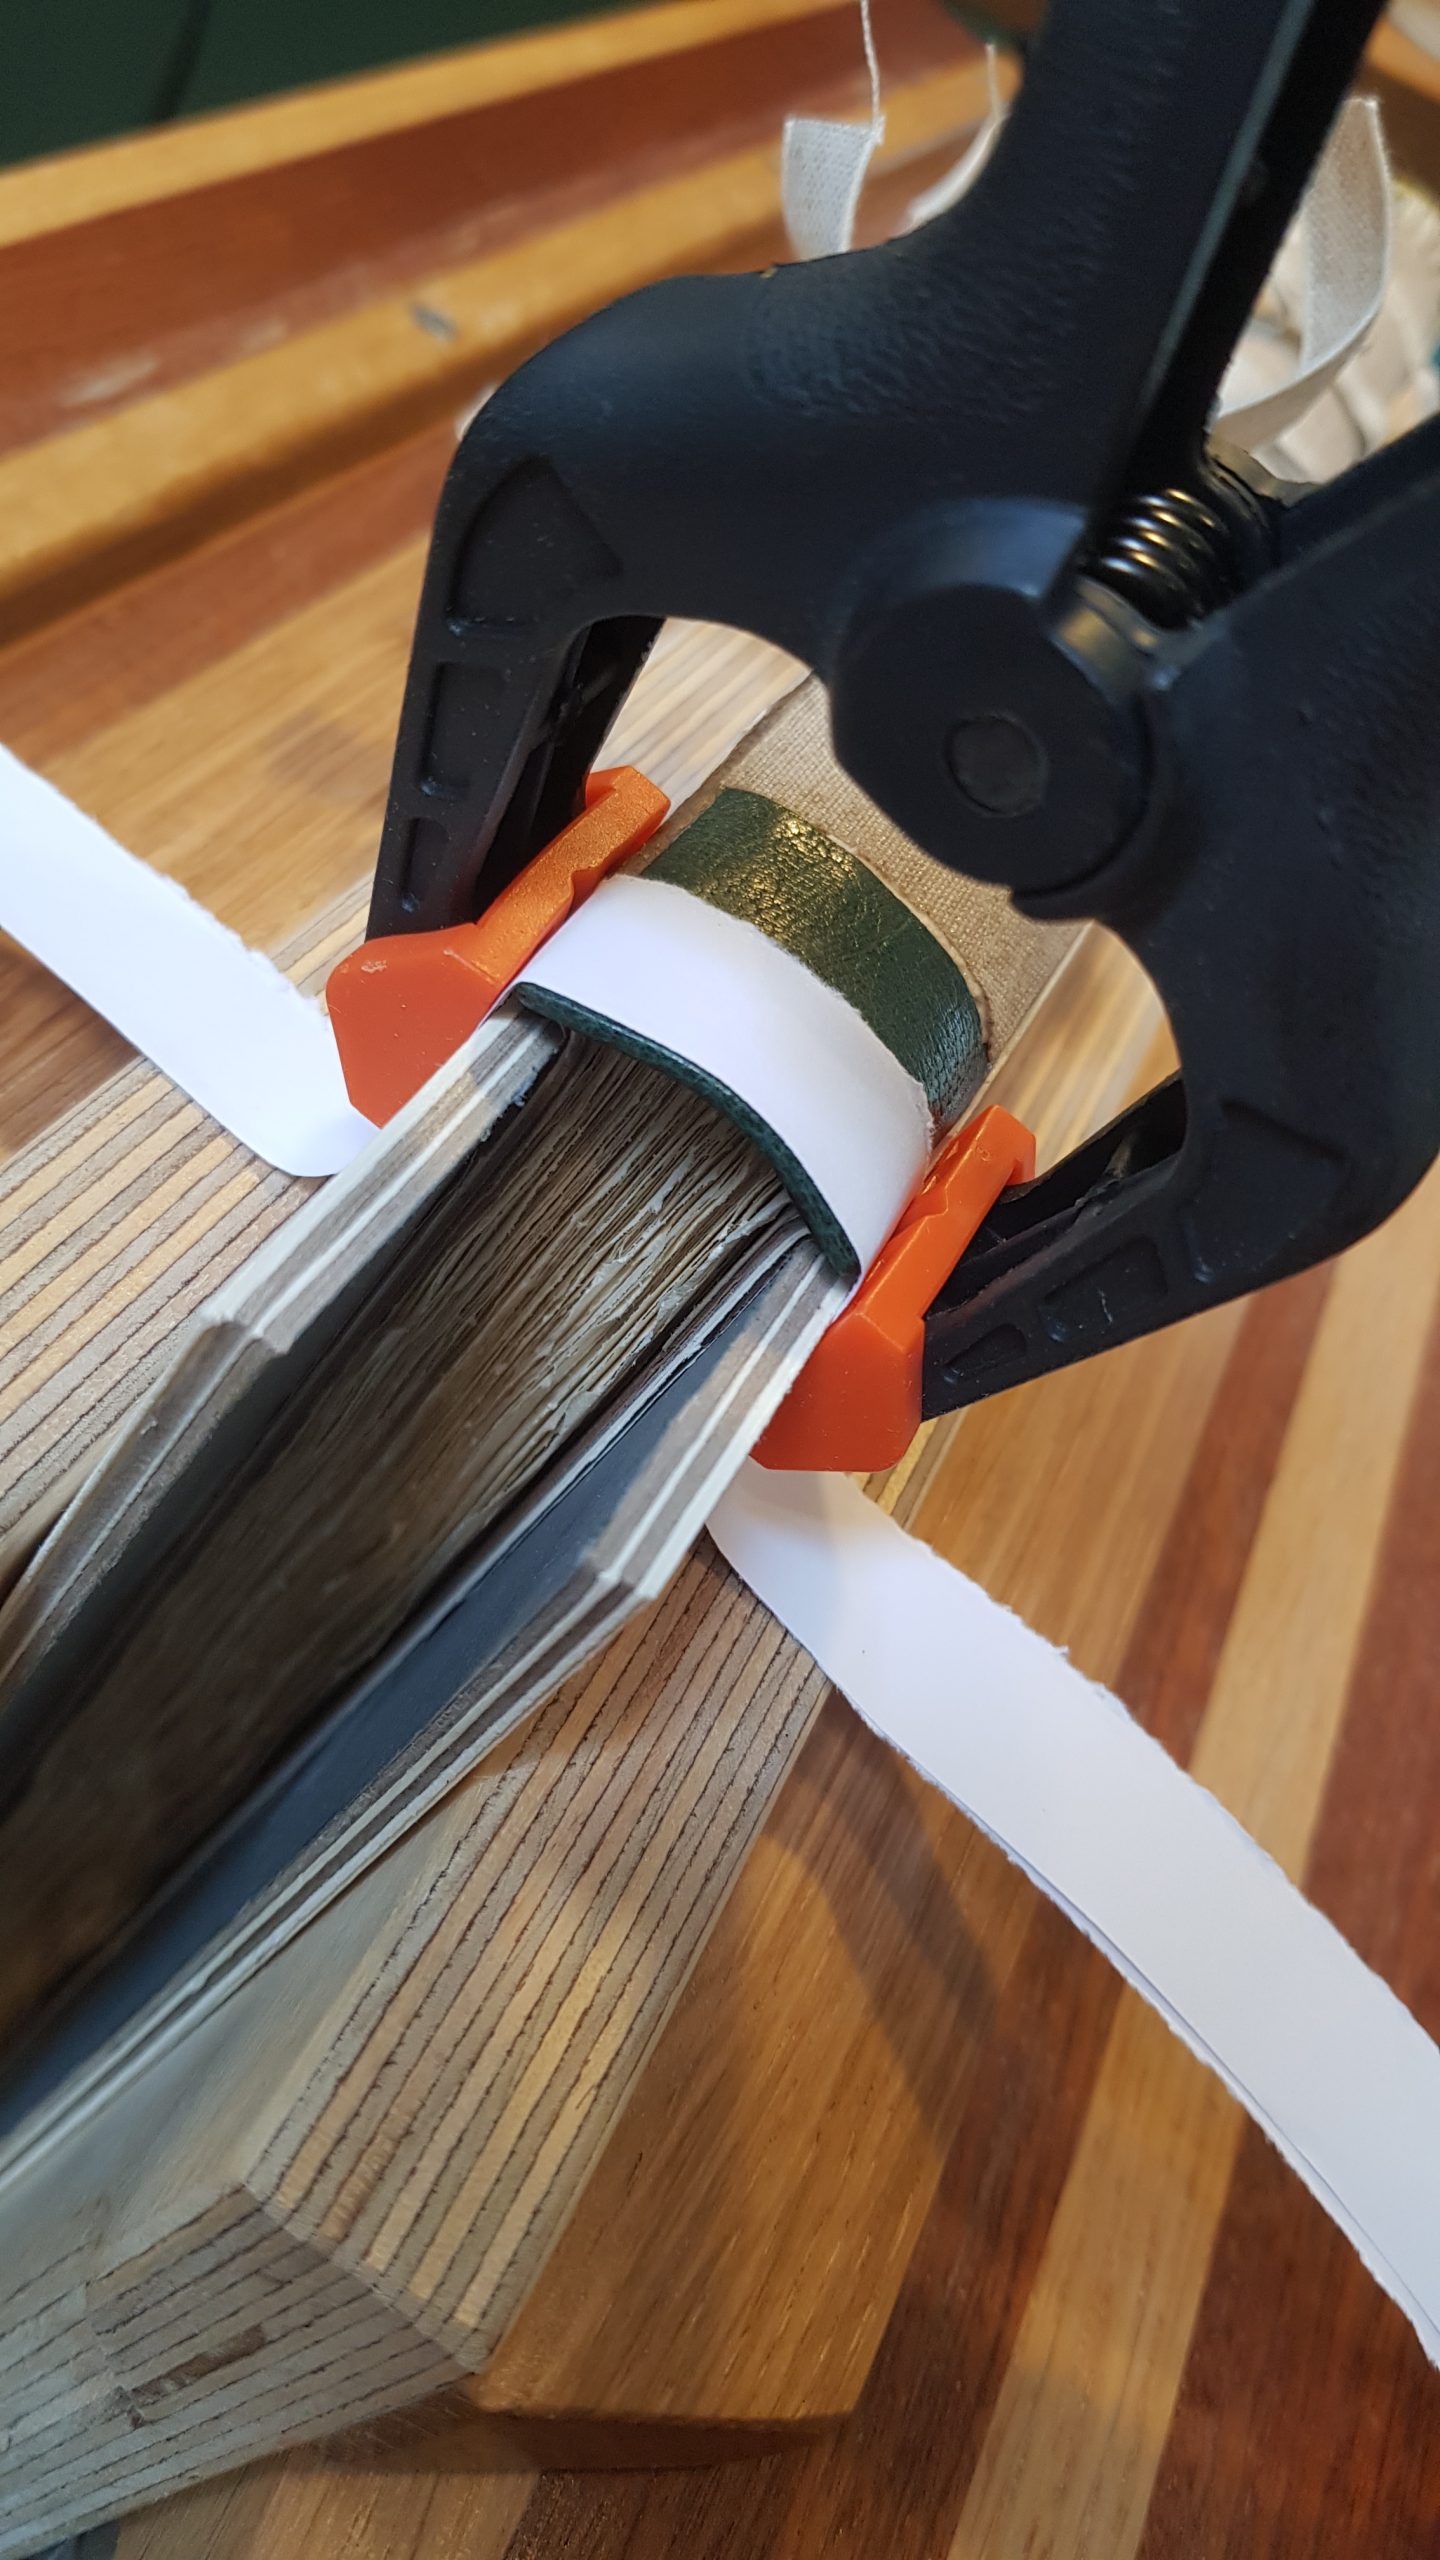
The spine was then layered up and sanded flush with lining layers, before an archival Kraft hollow was stuck to the spine. The boards were bevelled and then laced onto the binding.
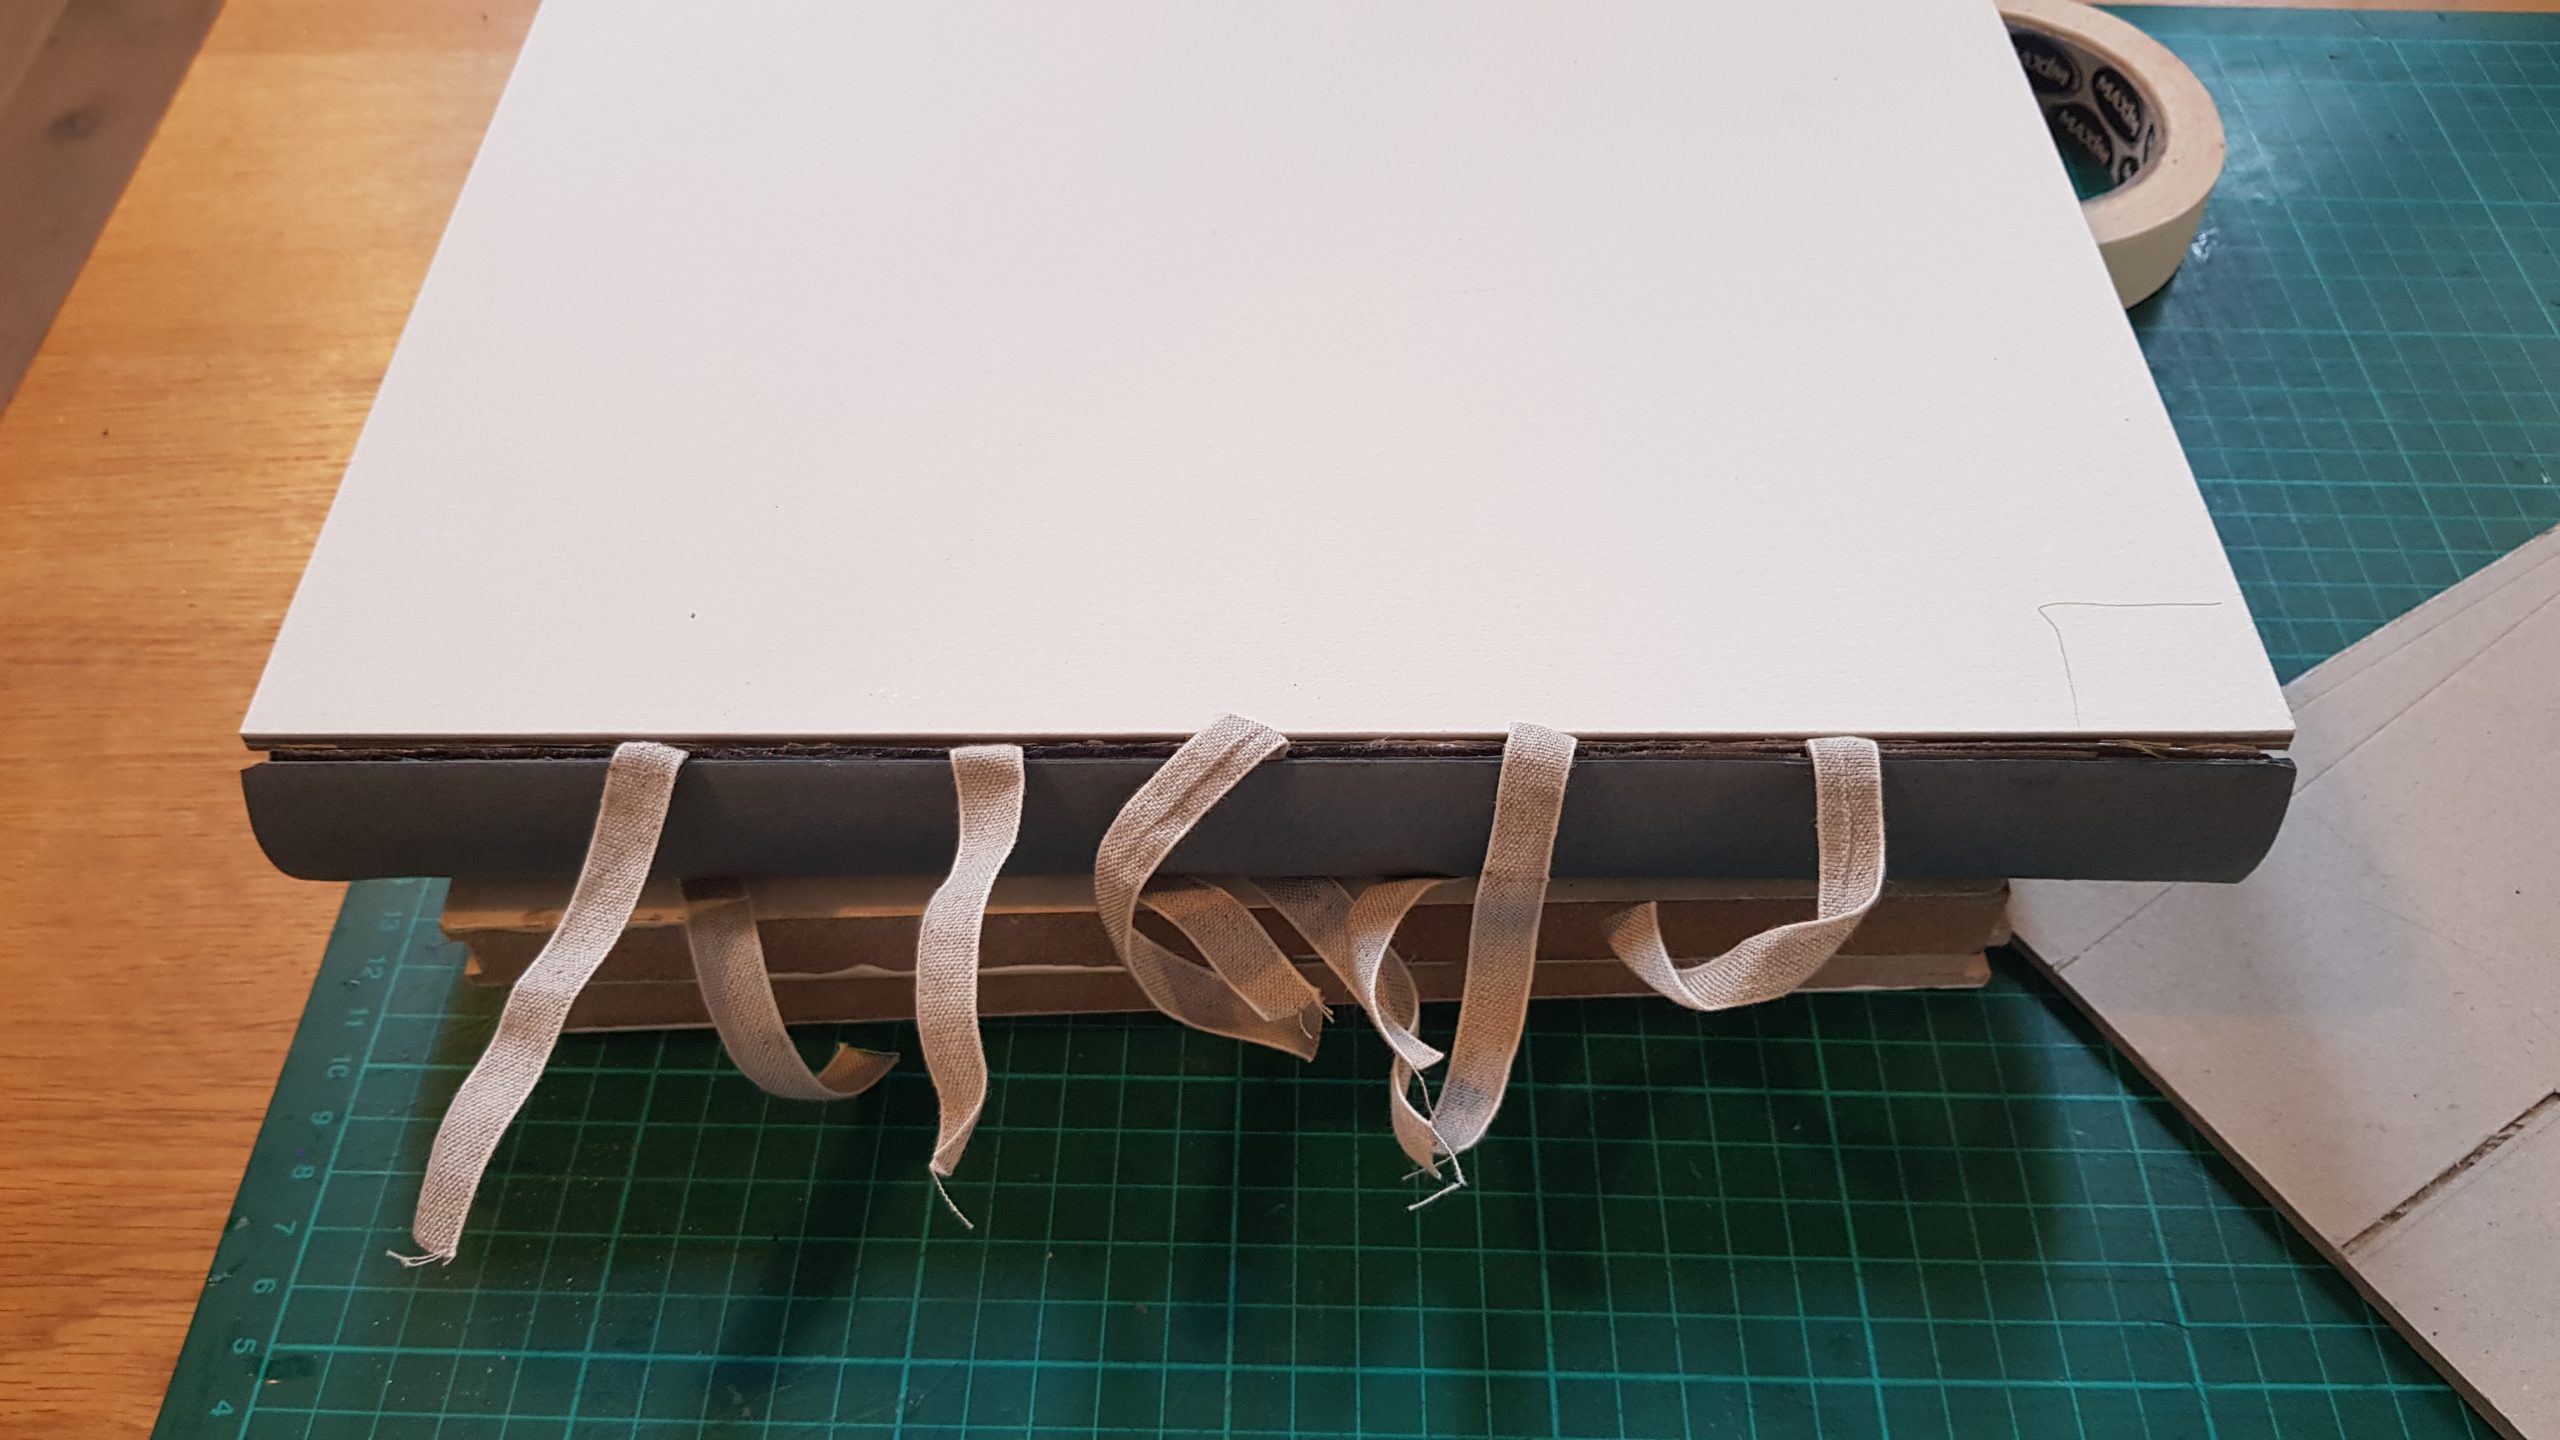
The tapes were inset into the inner board so that they would lie flush. A final layer of handmade paper was glued onto the outer surface of the boards and sanded to give a lovely even finish.


It is always at this stage of the binding process that I start to get excited as I can finally work out the exact size of the covering material and start to work on that! As with the sample board, I photocopied the grid design onto paper to the correct scale to fit the binding. I numbered each grid square as each was slightly different in size so I knew this would be crucial for keeping track of the different onlay pieces during the next stage.
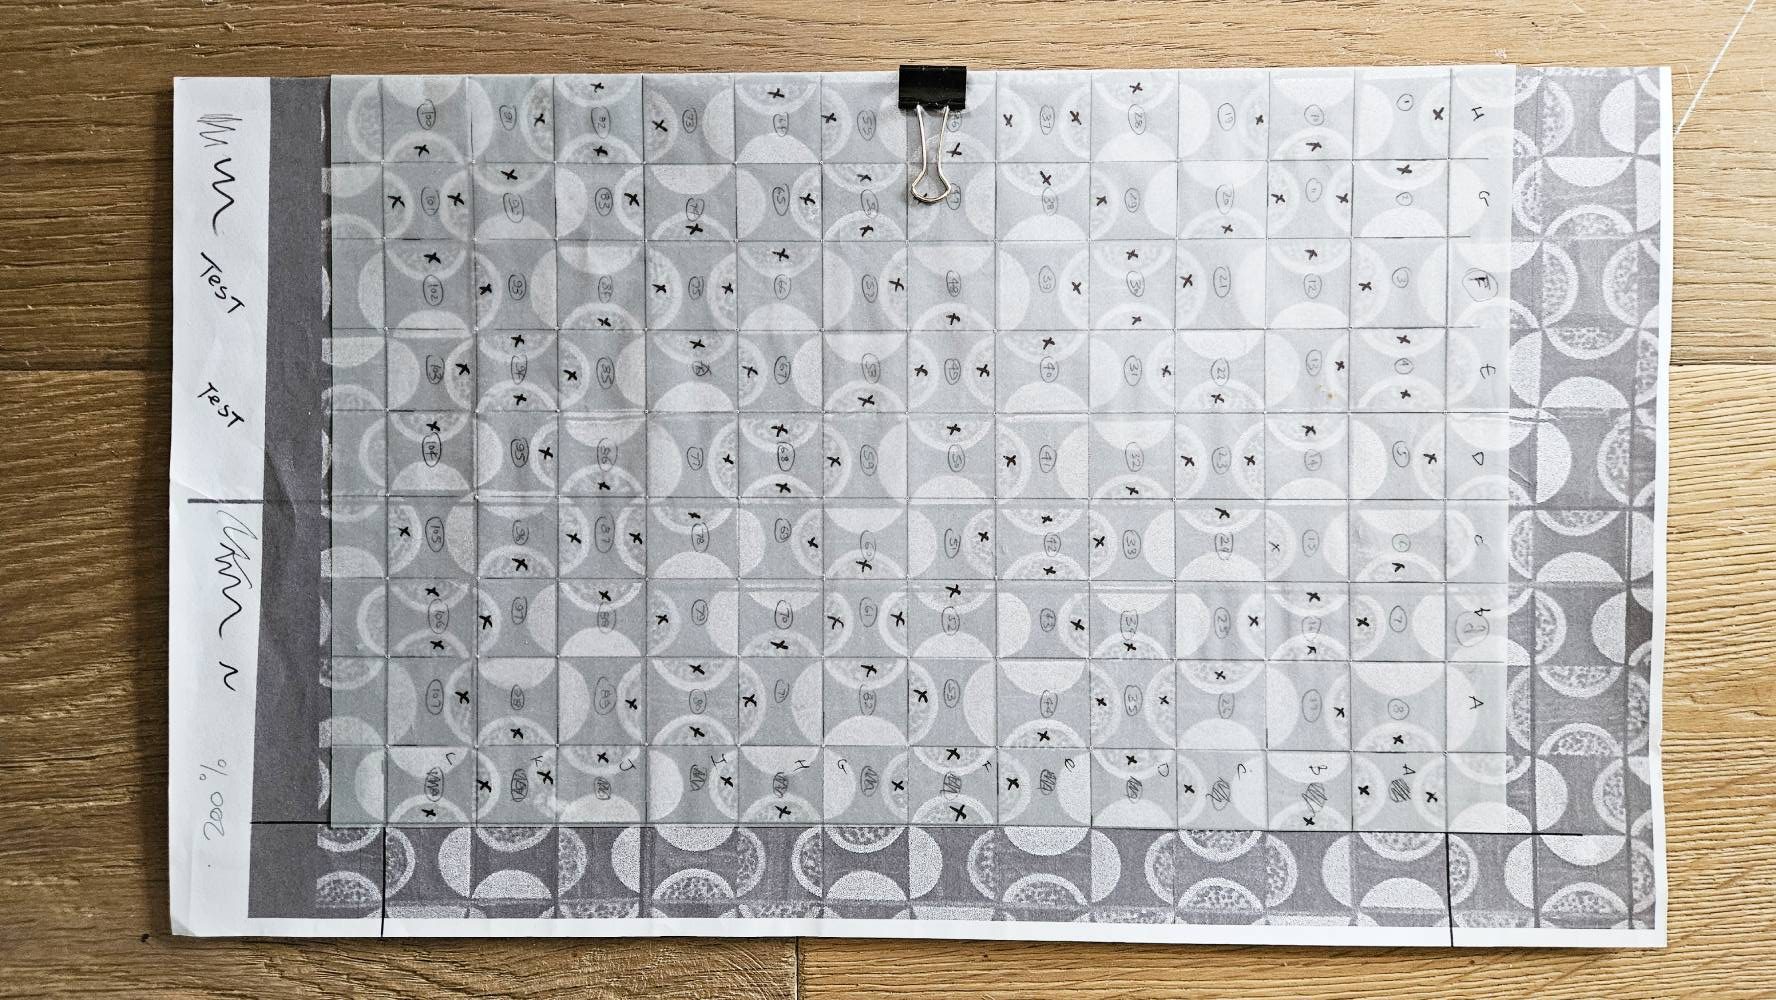
I created a tracing paper template with the grid lines on. This was fixed to the orange pigskin and I used a needle pricker to mark the holes, place at about 4mm apart along each long line. Theses lines were embroidered using dark brown embroidery thread. I first sewed a running stitch to form the grid line, which was then whipped around with the same coloured thread to consolidate the line.
I went as far to the edge as I could so that the brown stitching would curve around the edge of the board once the leather was stuck to it, but not so far that it would be in danger of being sanded when the inside of the boards were being prepared for the edge-to-edge doublure.


I then was able to measure each grid square and prepare the necessary brown leather onlays to fit. As well as using onlays split with the flesh-side up, I also opted to use brown suede for some of them too in order to vary the look on the surface. The split of the brown leather was paler than that of the skin side so I toned it down using acrylic paint. I liked the combination of the shiner skin-side leather against the flatter look of the painted suede.


I numbered both the grid squares and the leather onlays, given there were 108 grid squares on both the front and back covers, 216 of the same brown onlays was a lot to keep track of!


Once the squares were cut and allocated to slots I bundled them up using miniature wooden pegs into rows. The next process was to cut half circles out of two opposite sides of each square until I ended up with the correct shape required to glue into the embroidered grid of the covering leather.


Half circles were marked onto the back of the brown onlays using a fine pen and then cut to shape. They were then in turn glued onto the coverign leather using PVA glue and rubbed with a Teflon folder to ensure good adhesion.


I was really pleased with how the grid was starting to look. The final thing to do with the onlays was to start to prepare the grey half circles which I was also going to add to the design. These were marked using a circle template and cut out. They woudl be glued down at a later stage in the process in the necessary positions on the grid. Not all the gaps were to filled as on the original cabinet marquetry this varied across the design. I followed the pattern from the photocopied template I had made earlier in the process to calculate how many I needed.


Part three in this series of blog posts covers the embroidery, tooling and covering of the binding.